Obligatory Catch Up Post (2018)

My typical M.O. is to not really post much in the summer. I’d prefer being out enjoying nature than inside banging away at keys. So I have been absent from these pages for some time, but I have not been dormant, as you will see. I would normally have written a catch up post earlier in the winter, but I have been busy recording music (check that out here if you want). This year has some potentially large changes in store, so I hope to write about them as they happen. I use a laptop now, so I could conceivably write posts in a tree if I so desired.

Sun. It’s not just for tanning.

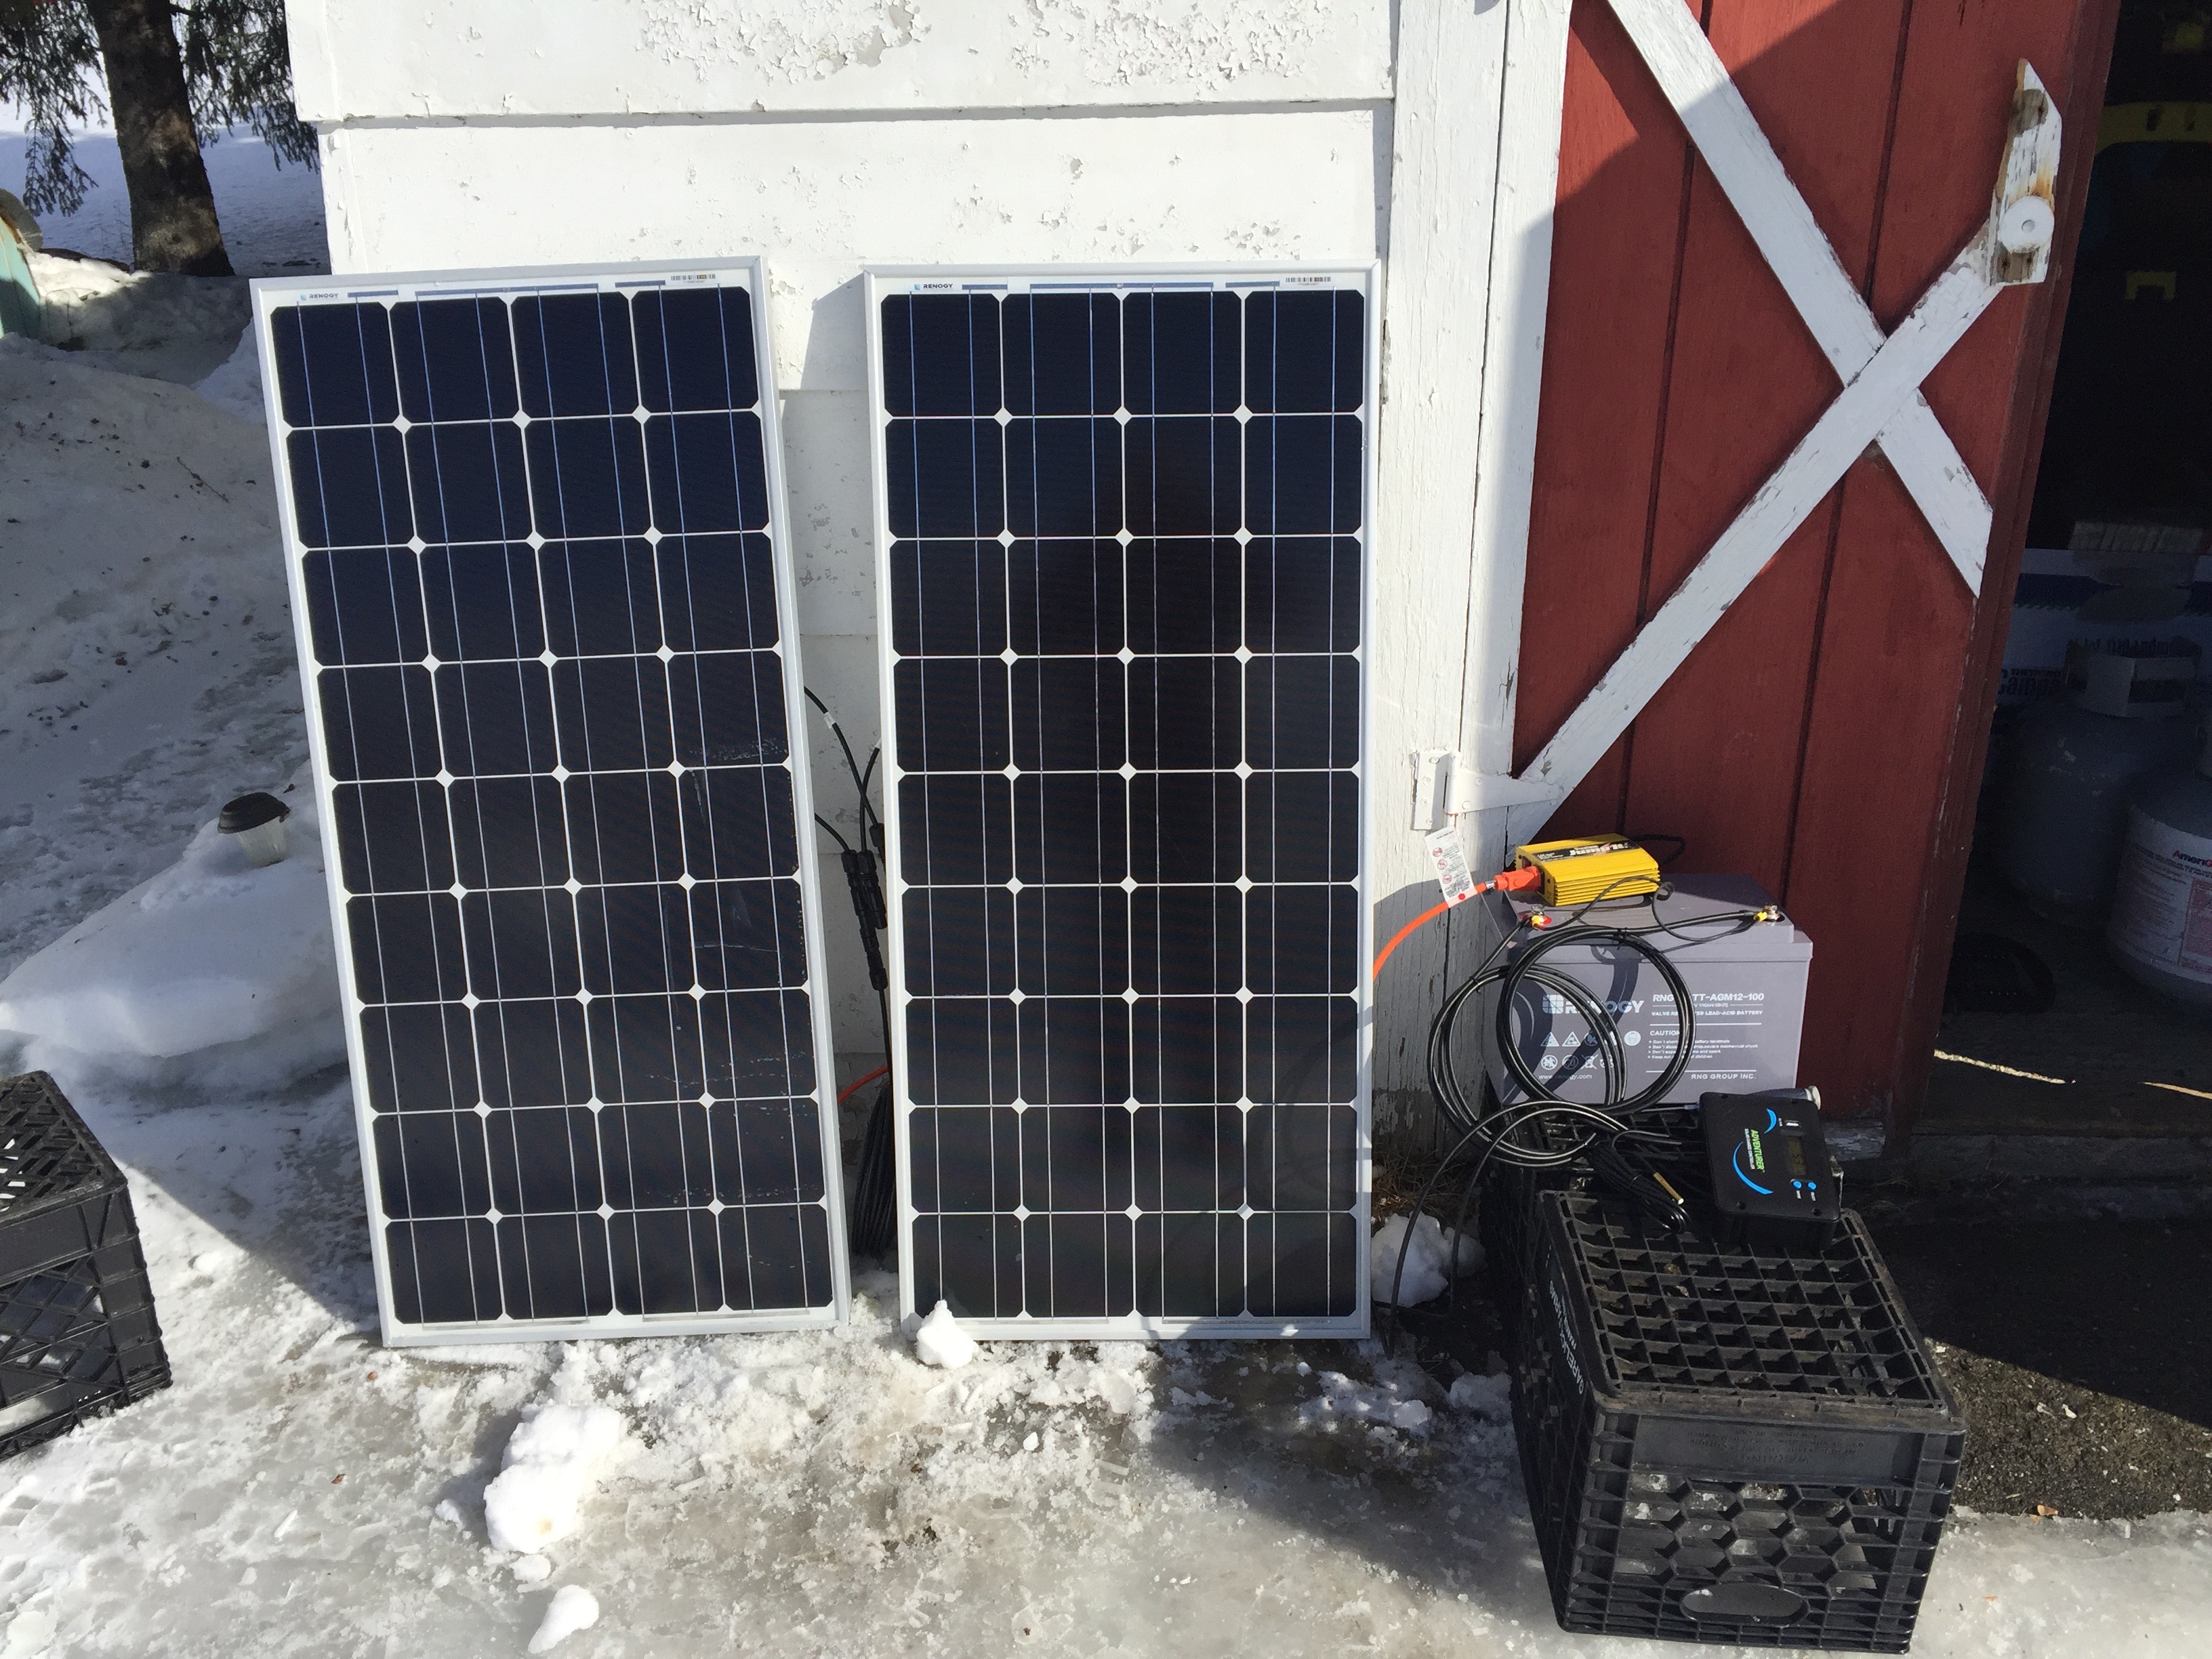
The latest and greatest news is… SOLAR PANELS!! They are not installed yet, except to test them out. There will be a post dedicated to this project, so I will not get into a lot of detail here. I have 2 panels totaling 200 Watts, and battery rated at 100 Amp Hours. The battery is an AGM deep cycle variety. It’s considerably more money than a marine battery, but I’m aiming to do this correctly from the start and avoid the pitfalls many others have endured. I have 30 Amp charge controller as well. All of these components are made by Renogy. I also picked up an additional monitor that I’m hoping will help me keep a close eye on the condition of the battery.

Got gas?


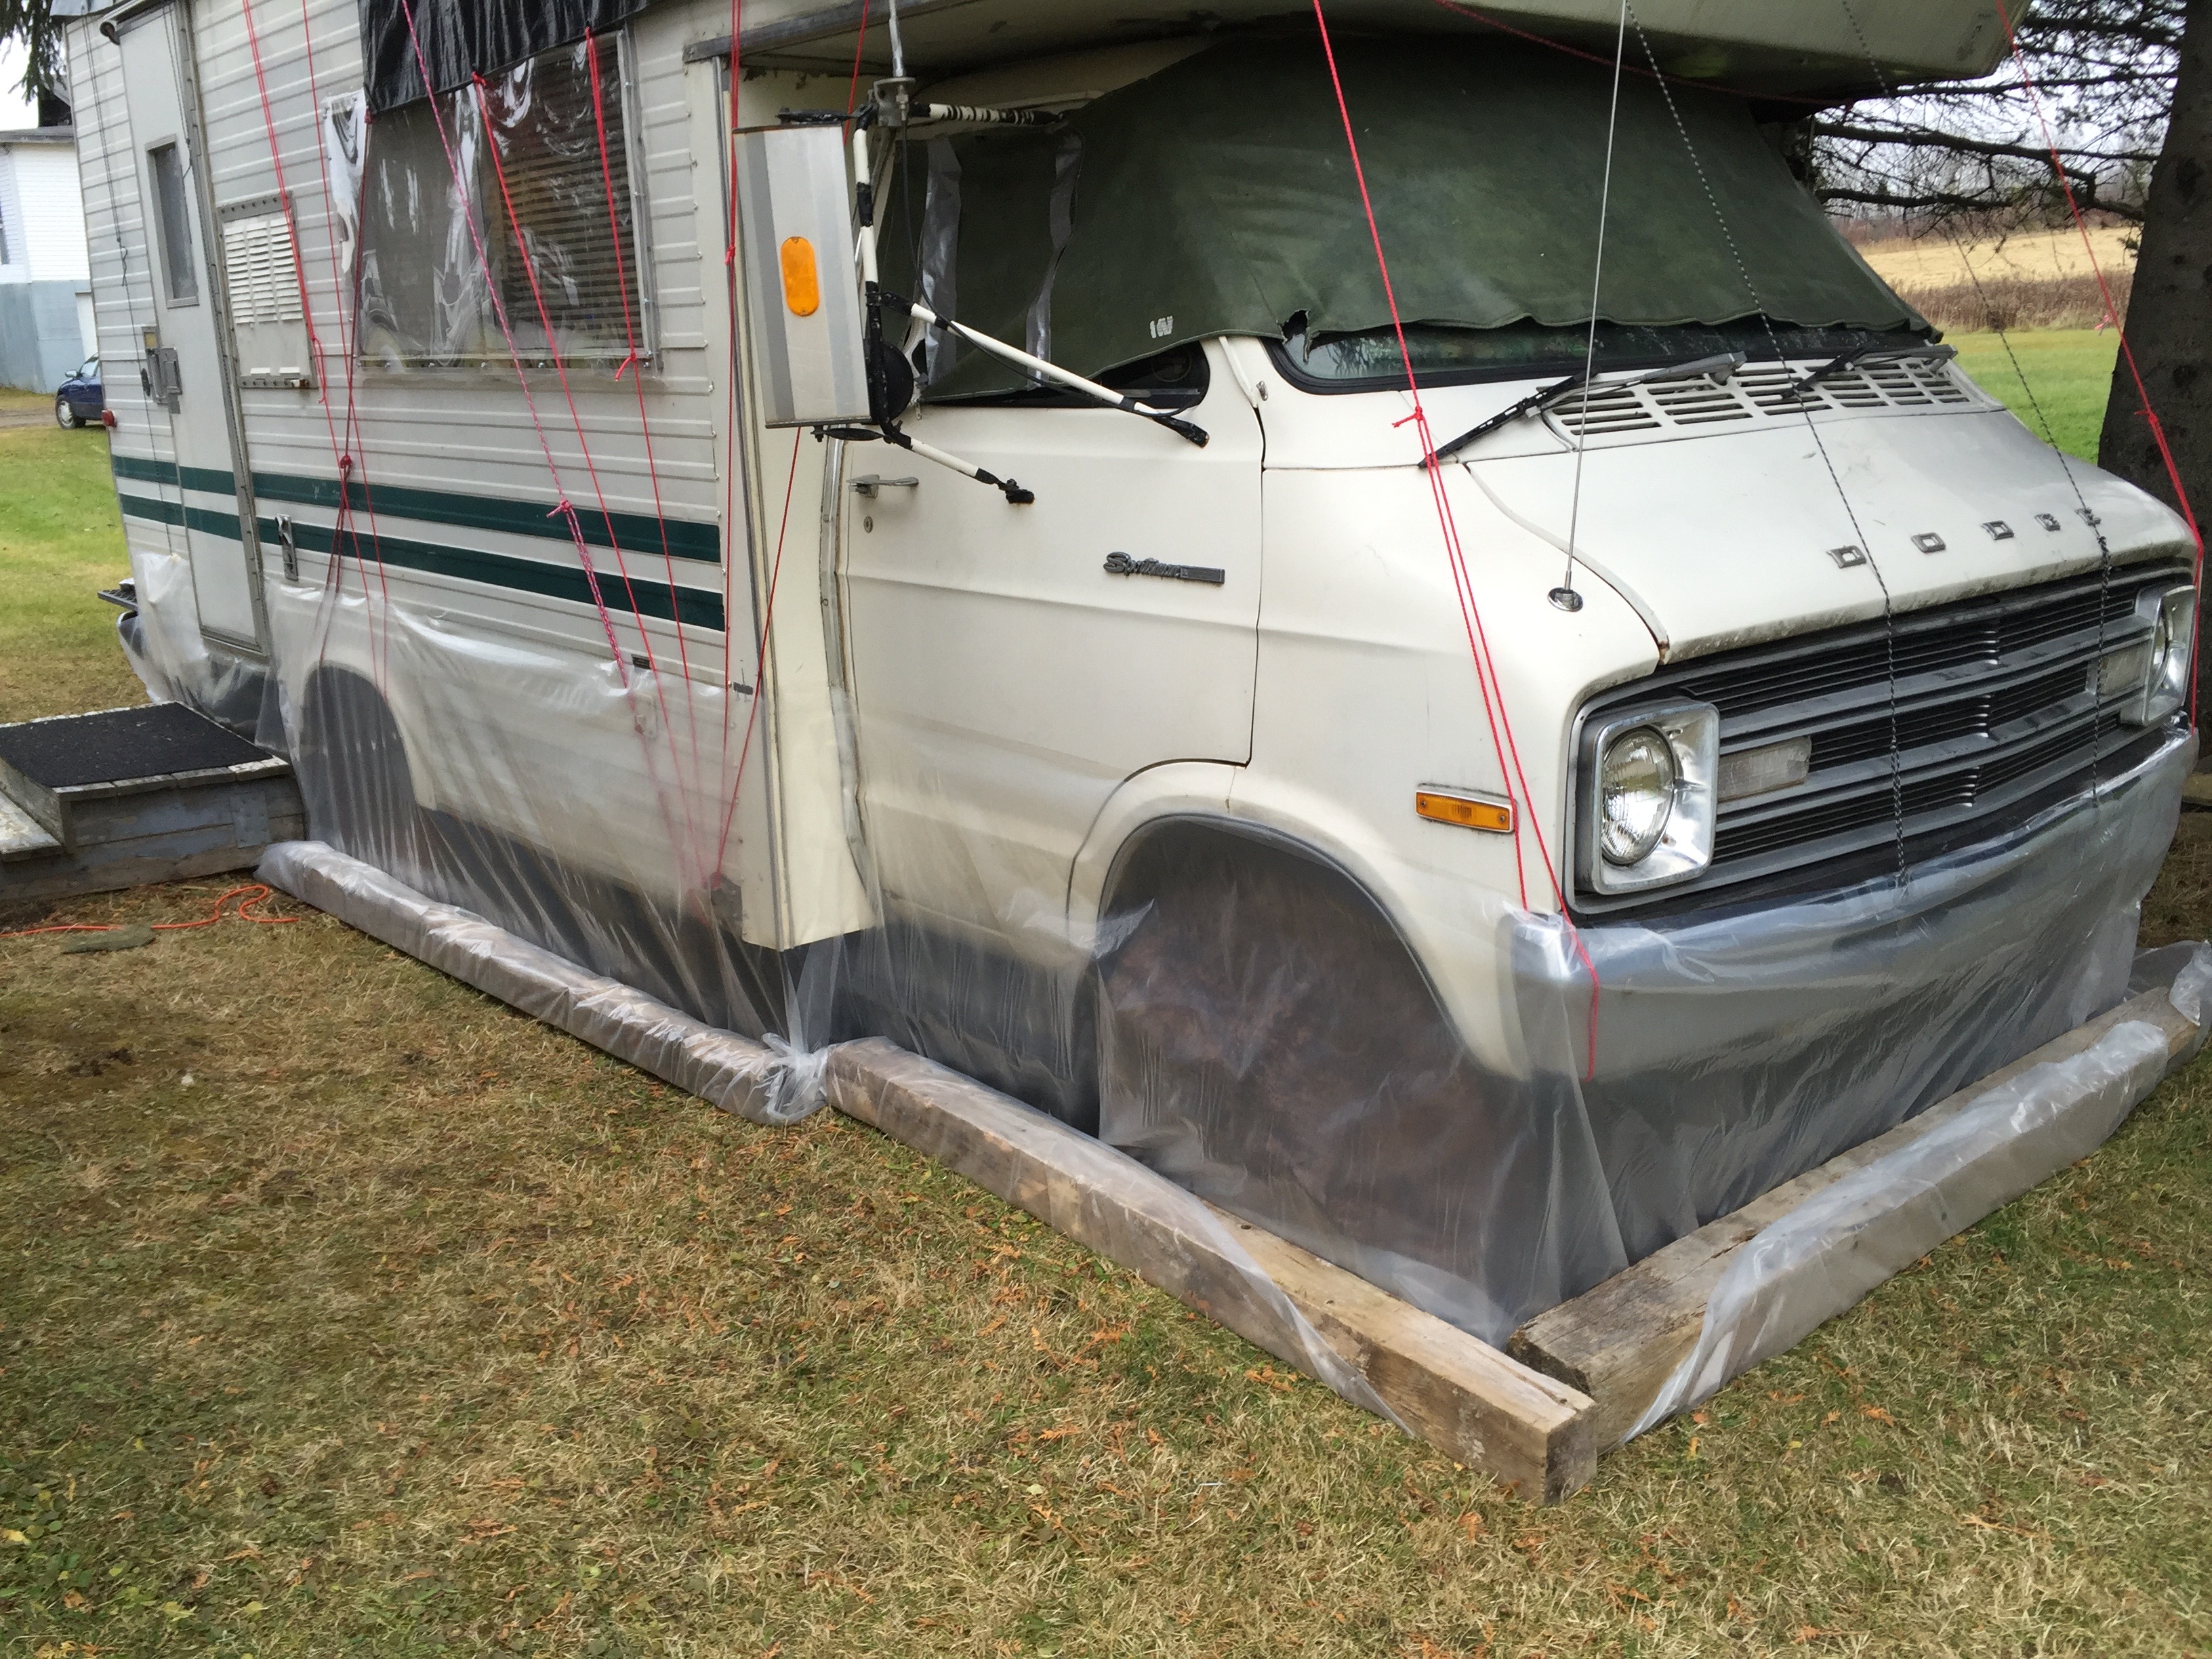
I finally picked up an auto-changeover dual propane regulator. So many nights I wondered if the tank would last until morning. Sometimes it didn’t, forcing me to change it at 2AM by headlamp in 20 below temps. It ran out once when I was doing an overnight shift at work, and I returned home to a frozen water system. Now, when one tank empties, the lack of pressure will force the regulator to switch to the full tank!  I have my tanks filled rather than exchange them, so I could have simply swapped my tanks when I knew they were close to empty. I just prefer to let them tap out, especially since the odor additive is settled at the bottom. In theory, a tank that is always filled before it’s empty could accumulate a higher percentage of additive. I could be wrong about the implications of that.

Baby, it’s cold outside.

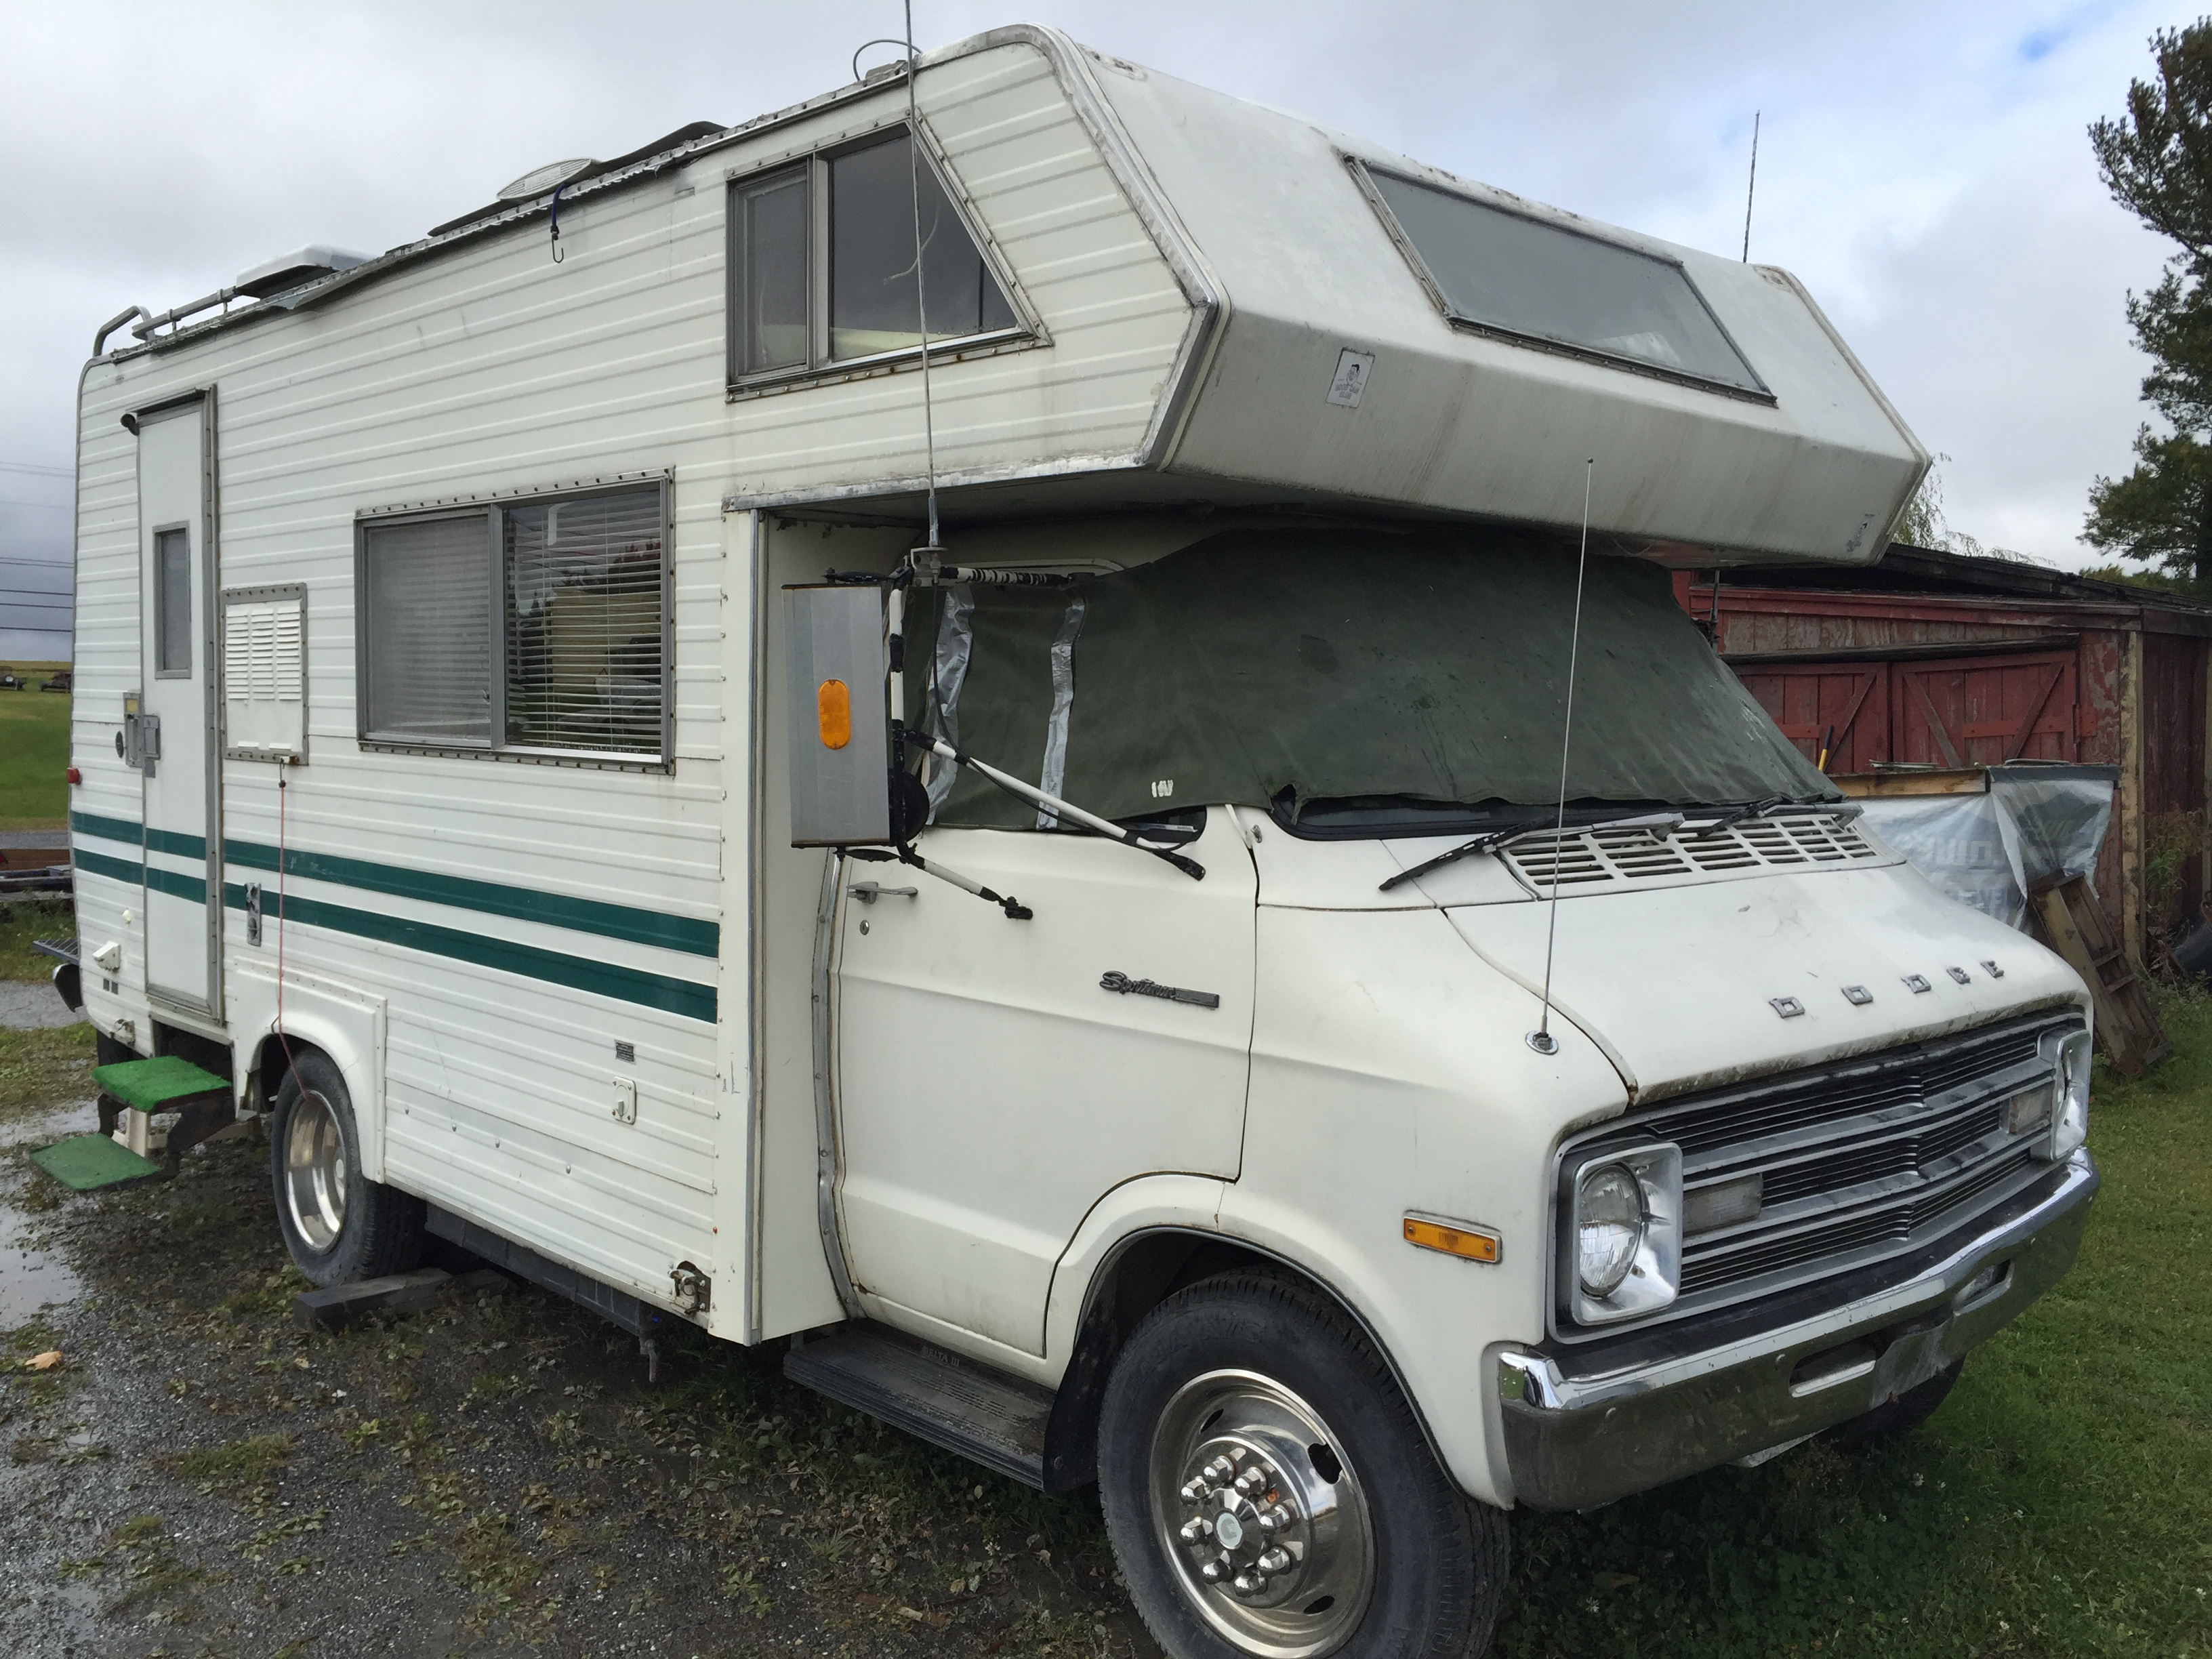
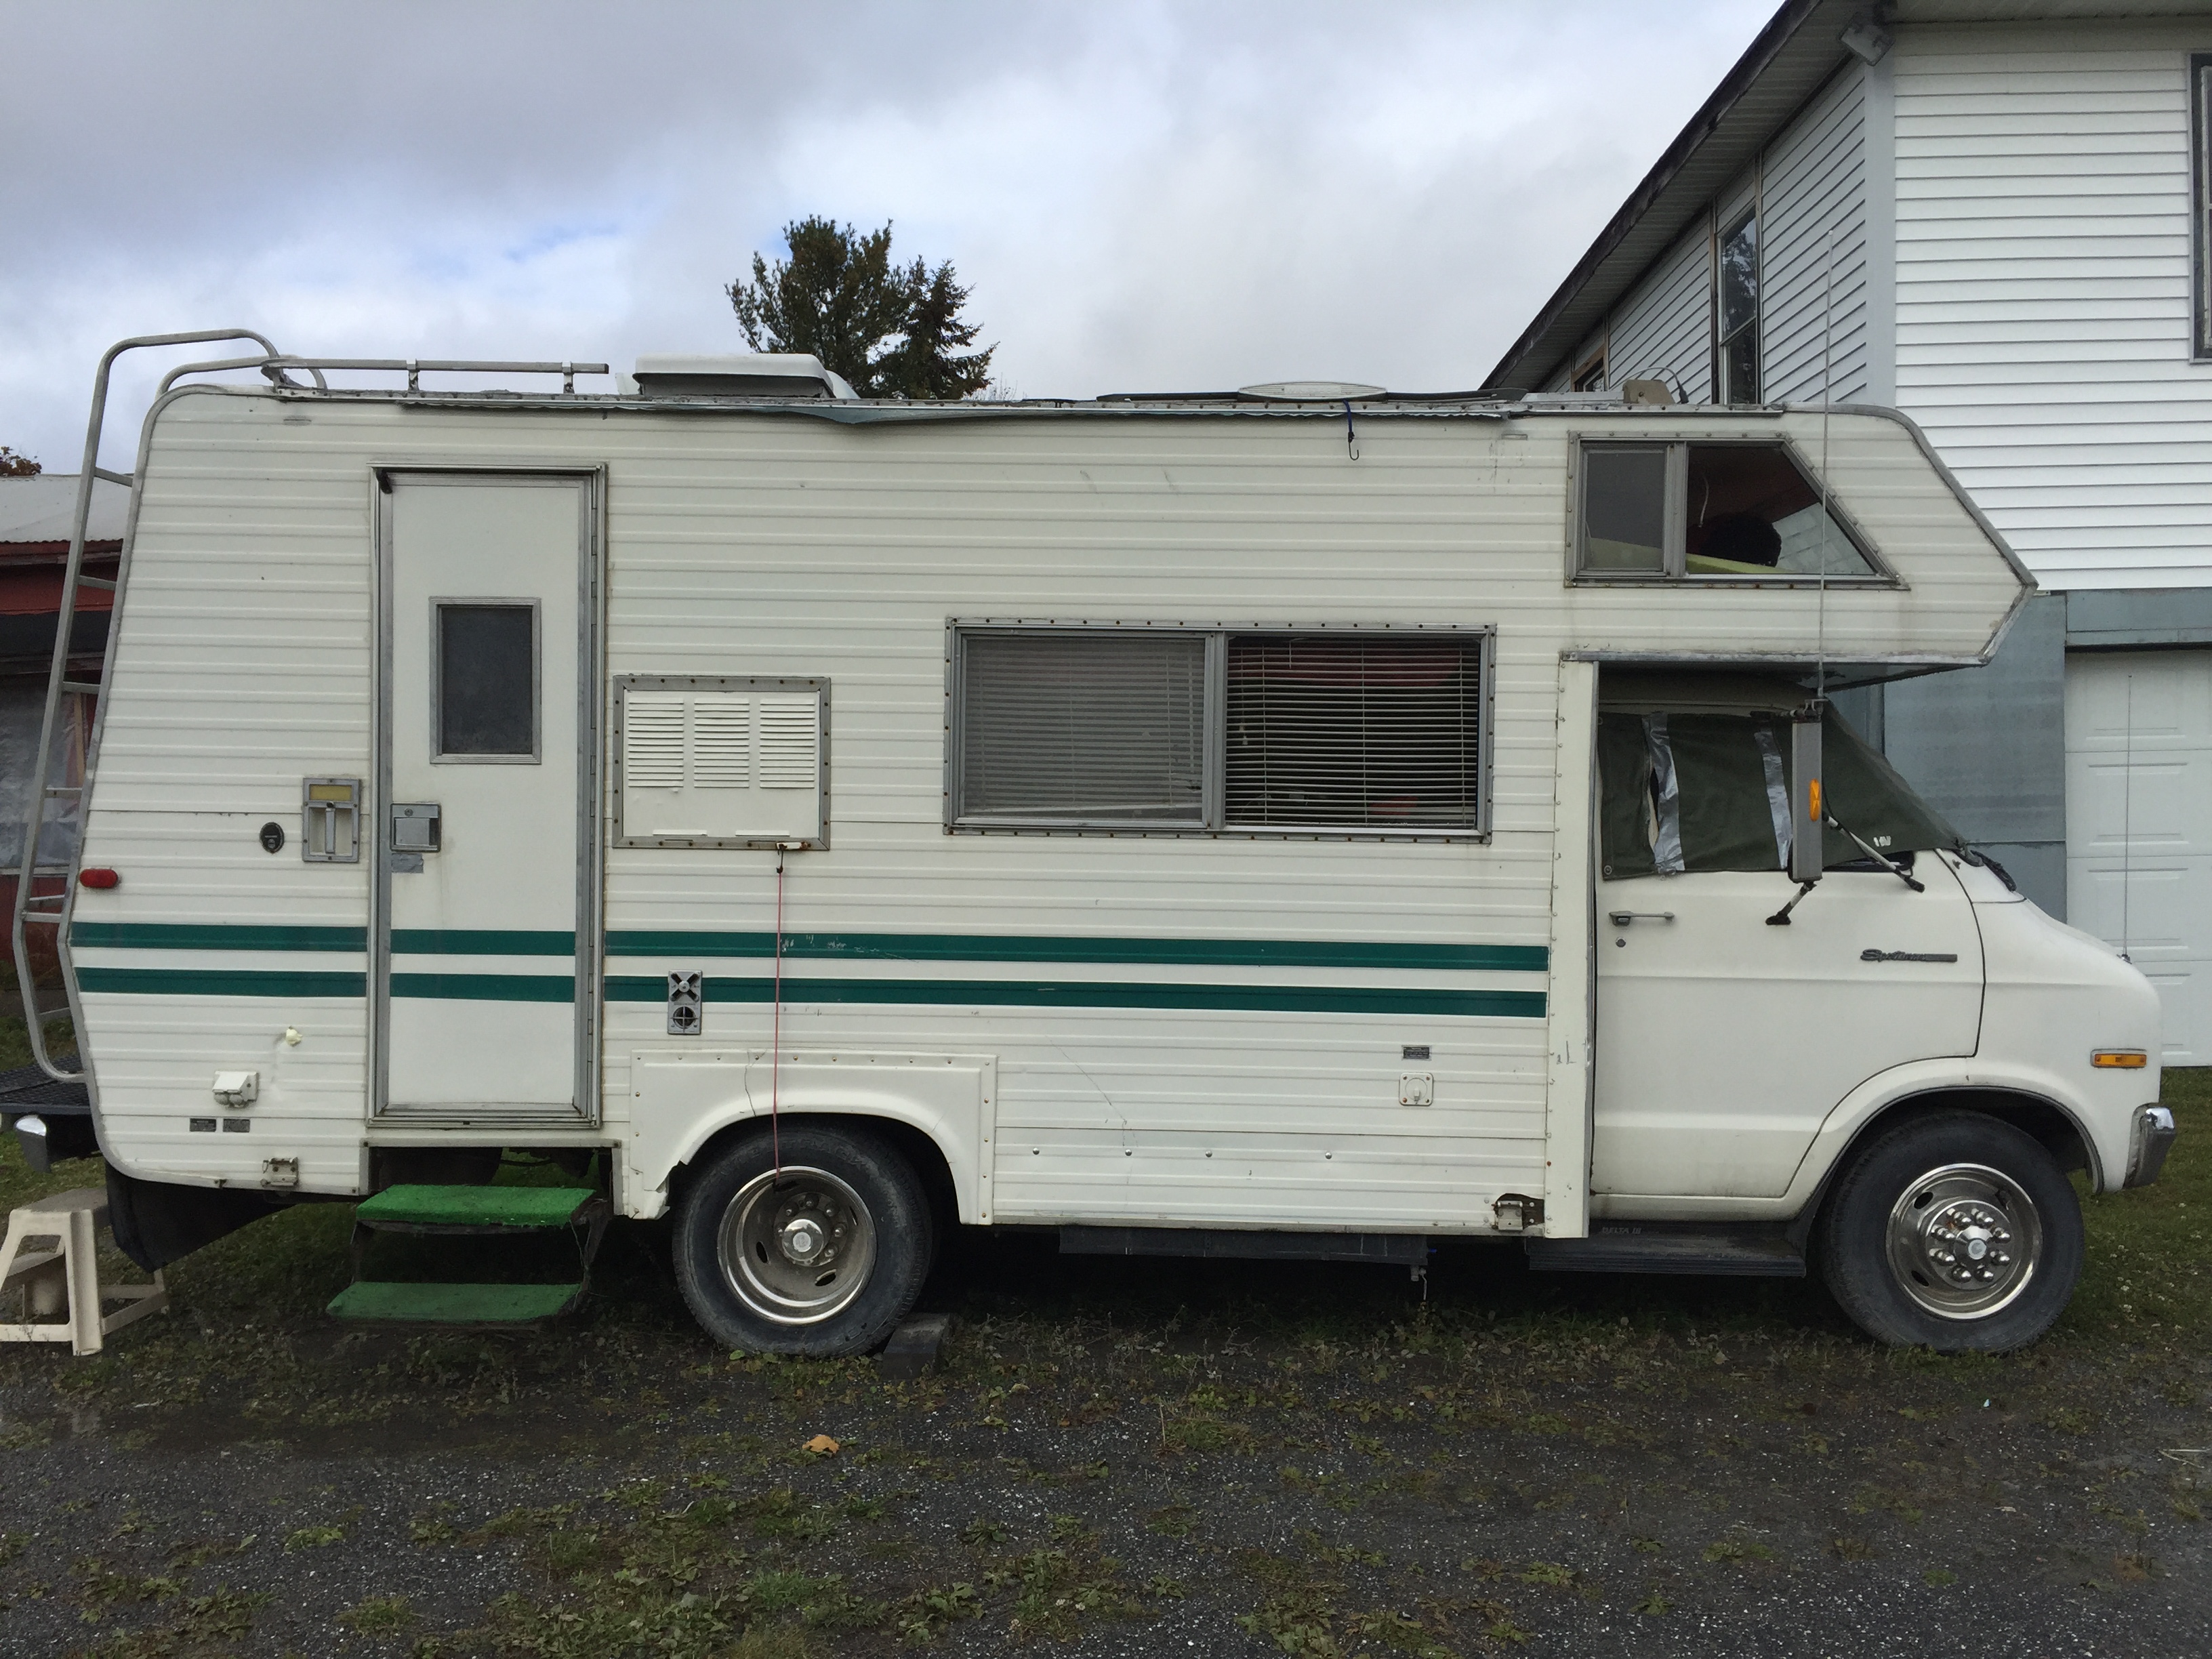
New furnace! This was not planned. Two weeks ago, my furnace started acting up. The motor and/or blower were struggling to remain in motion. I hoped it would hold on for the season, but alas it was not to be. I had to break down and replace it. The furnace was the only appliance in this 1977 camper that was original. So that thing was as old as me. I replaced it with the modern equivalent of the same model, so it was an easy swap. The new unit heats up faster and has a much stronger blower. I guess thats one less headache for next year.

Minimal. Tall. But minimal.

I got to meet The Minimalists! On their last tour, they stopped in Portland, Maine to record an episode of their podcast. I ventured down for a great show, and even ended up on the podcast. Check out Episode 75 Here. They were super gracious, humble, and big huggers. Look how “minimal” I look next to these fellas!

“It came from the carrot patch!”

I didn’t do much gardening this year. I got too late of a start. I managed to get a good load of organic Napoli carrots. This year, I may begin to develop some new land with a bee friendly cover crop that will also replenish nitrogen and CO2. My gardening plan for this year aims to be 100% organic, no till, and much broader in selection. I will certainly return to hydroponics someday, but right now the budget and logistics make that much lower on the priority list.


My medicine cabinet!

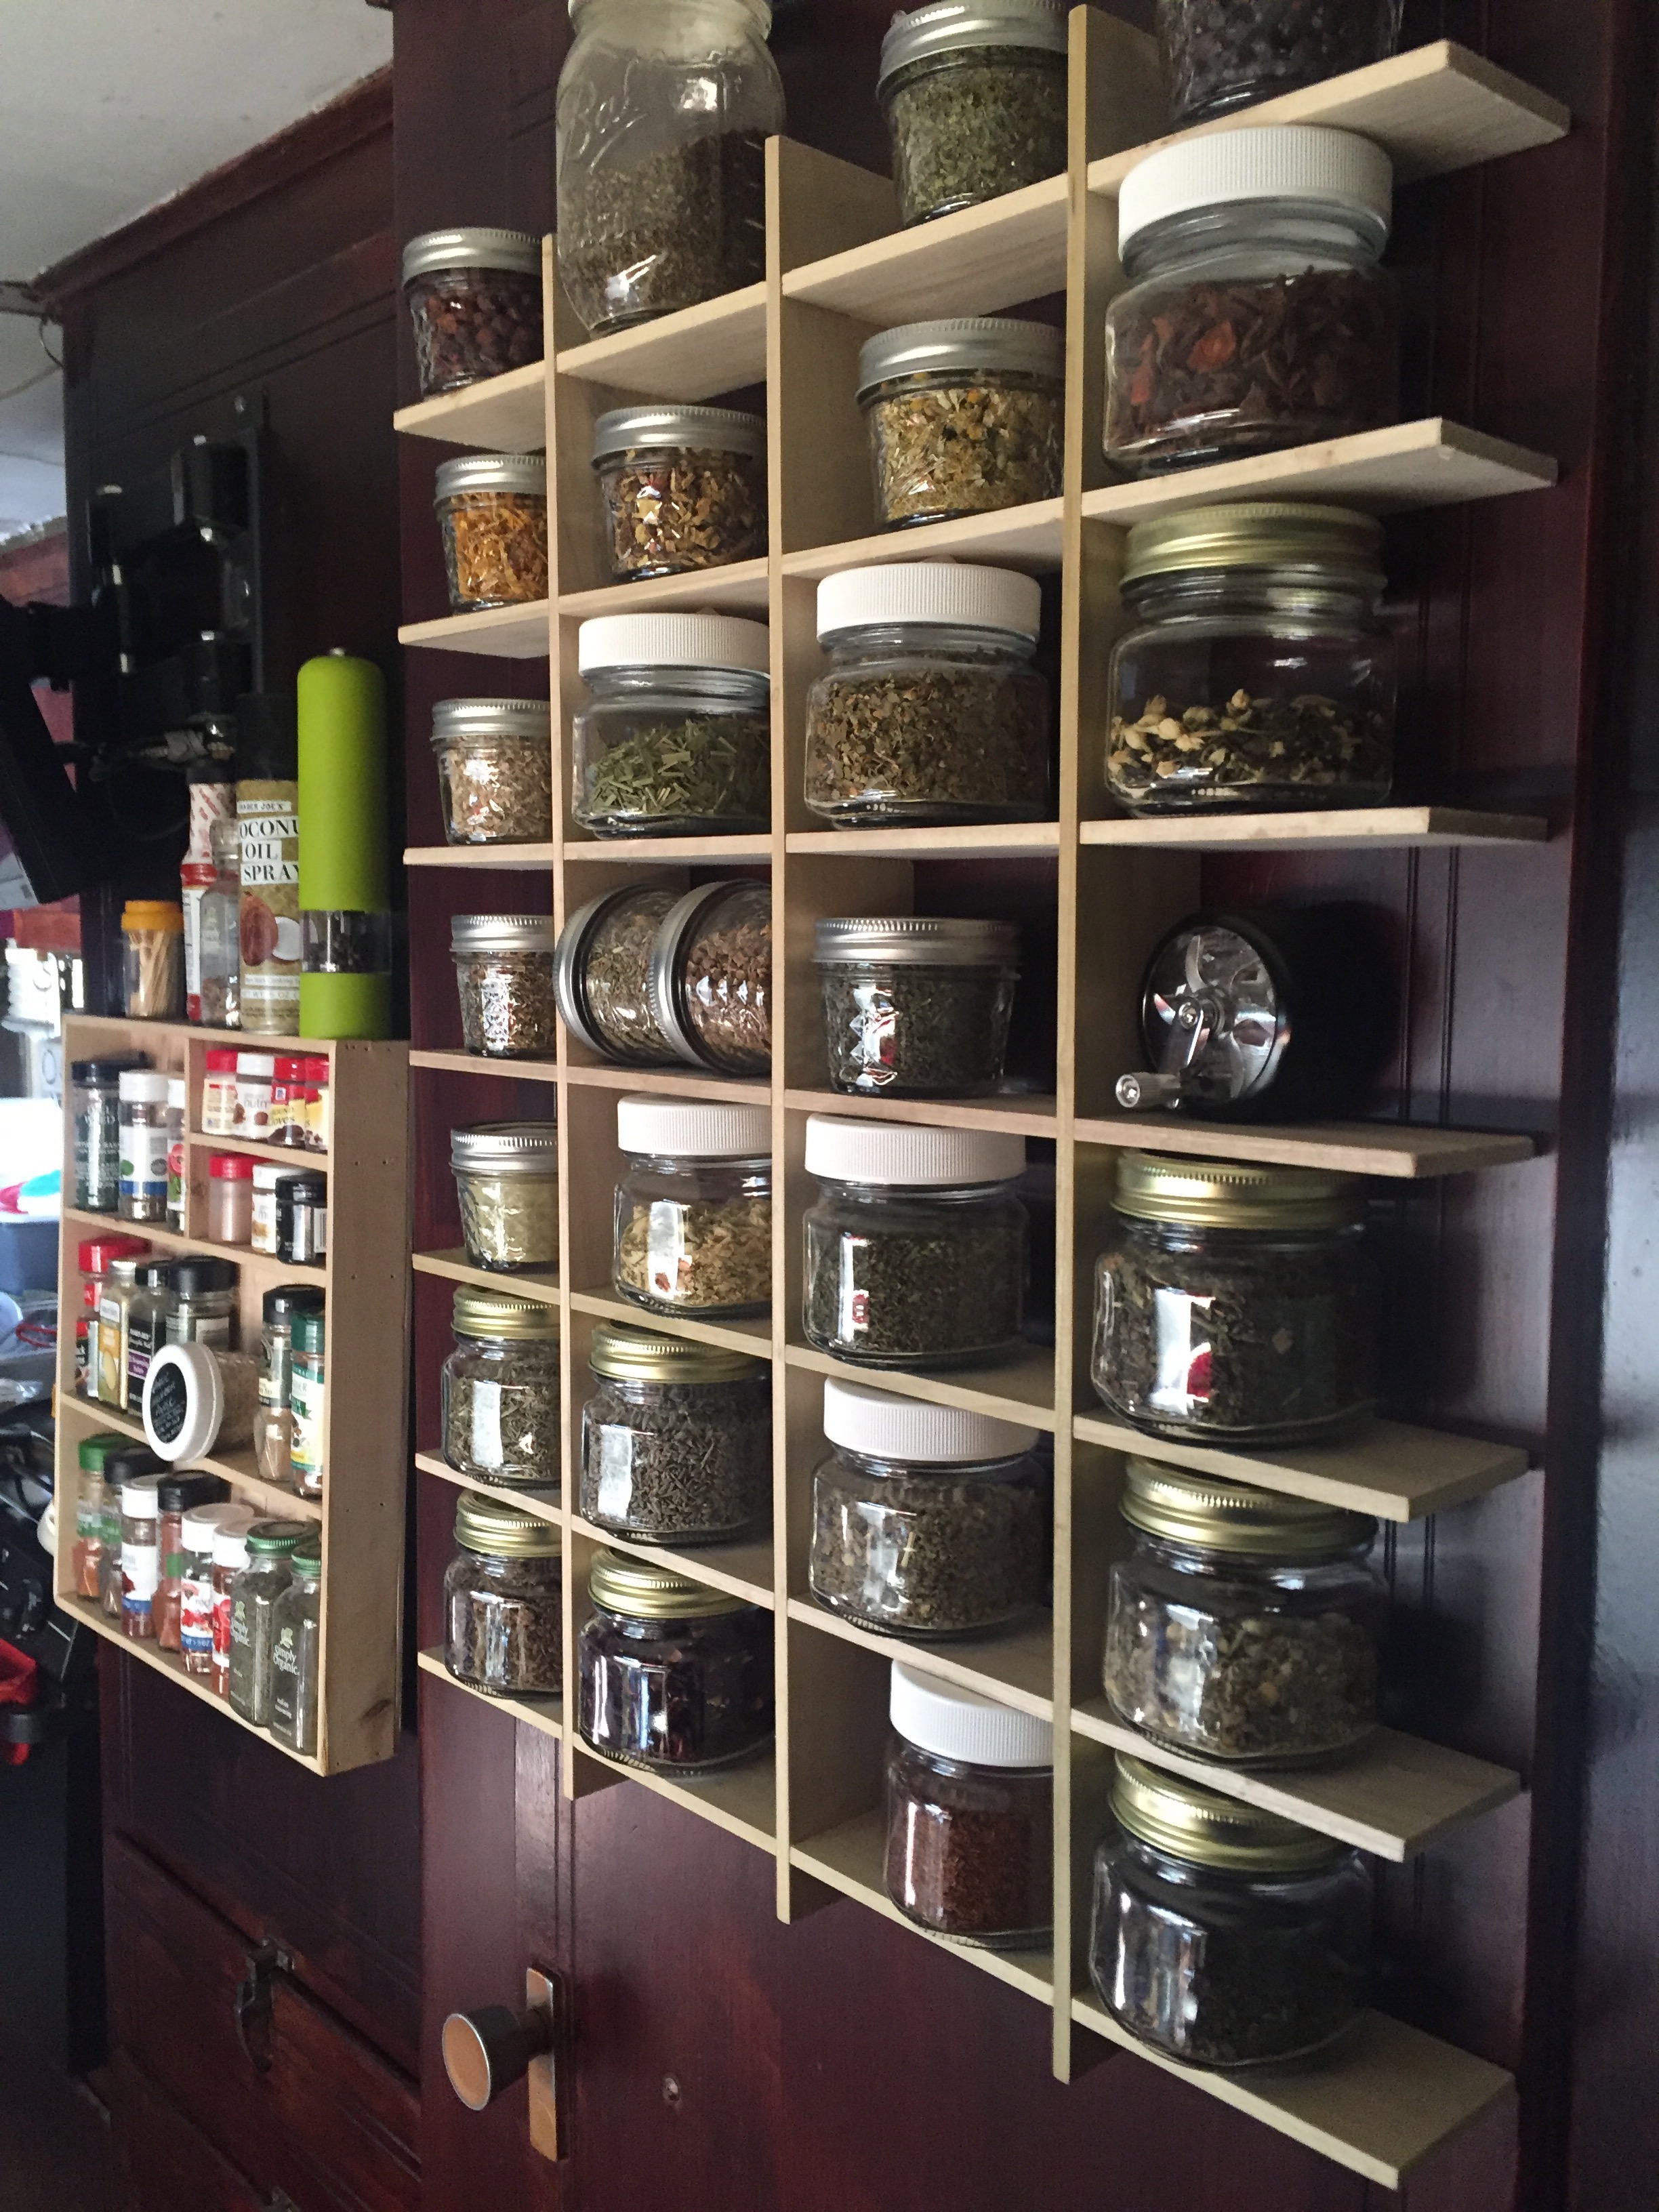
I have ventured deeper into the realm of natural and holistic approaches to life in all aspects. I picked up an encyclopedia of herbal remedies, invested in a large selection of teas, herbs, spices, and collected a pretty impressive array of essential oils and related accoutrements. So far, I have treated a number of ailments with pleasing results. I have been blending concoctions for household cleaning, skin care, deodorant, well being, inflammation, etc… I am going to dedicate a section of this site to these practices and share some recipes.

Lots of other things took place. I fixed all of my screens. I got a new porta potti (the valve started to leak on the old one, not a situation you let linger). I hung some Tibetan prayer flags.  Despite being a loner (maybe even a “recluse”?), I learned what its like to navigate this small space for an extended time with another being. I found it to be not only possible, but pleasant. It takes a sort of graceful dance of body and mind to make it work, but it works. This applies to a relationship of an intimate nature, mind you. I don’t think I could tolerate an extended guest otherwise. It also helps if the person is on the same lifestyle wavelengths as you. Though that experiment has drawn to a close, it held many profoundly important and worthwhile lessons.

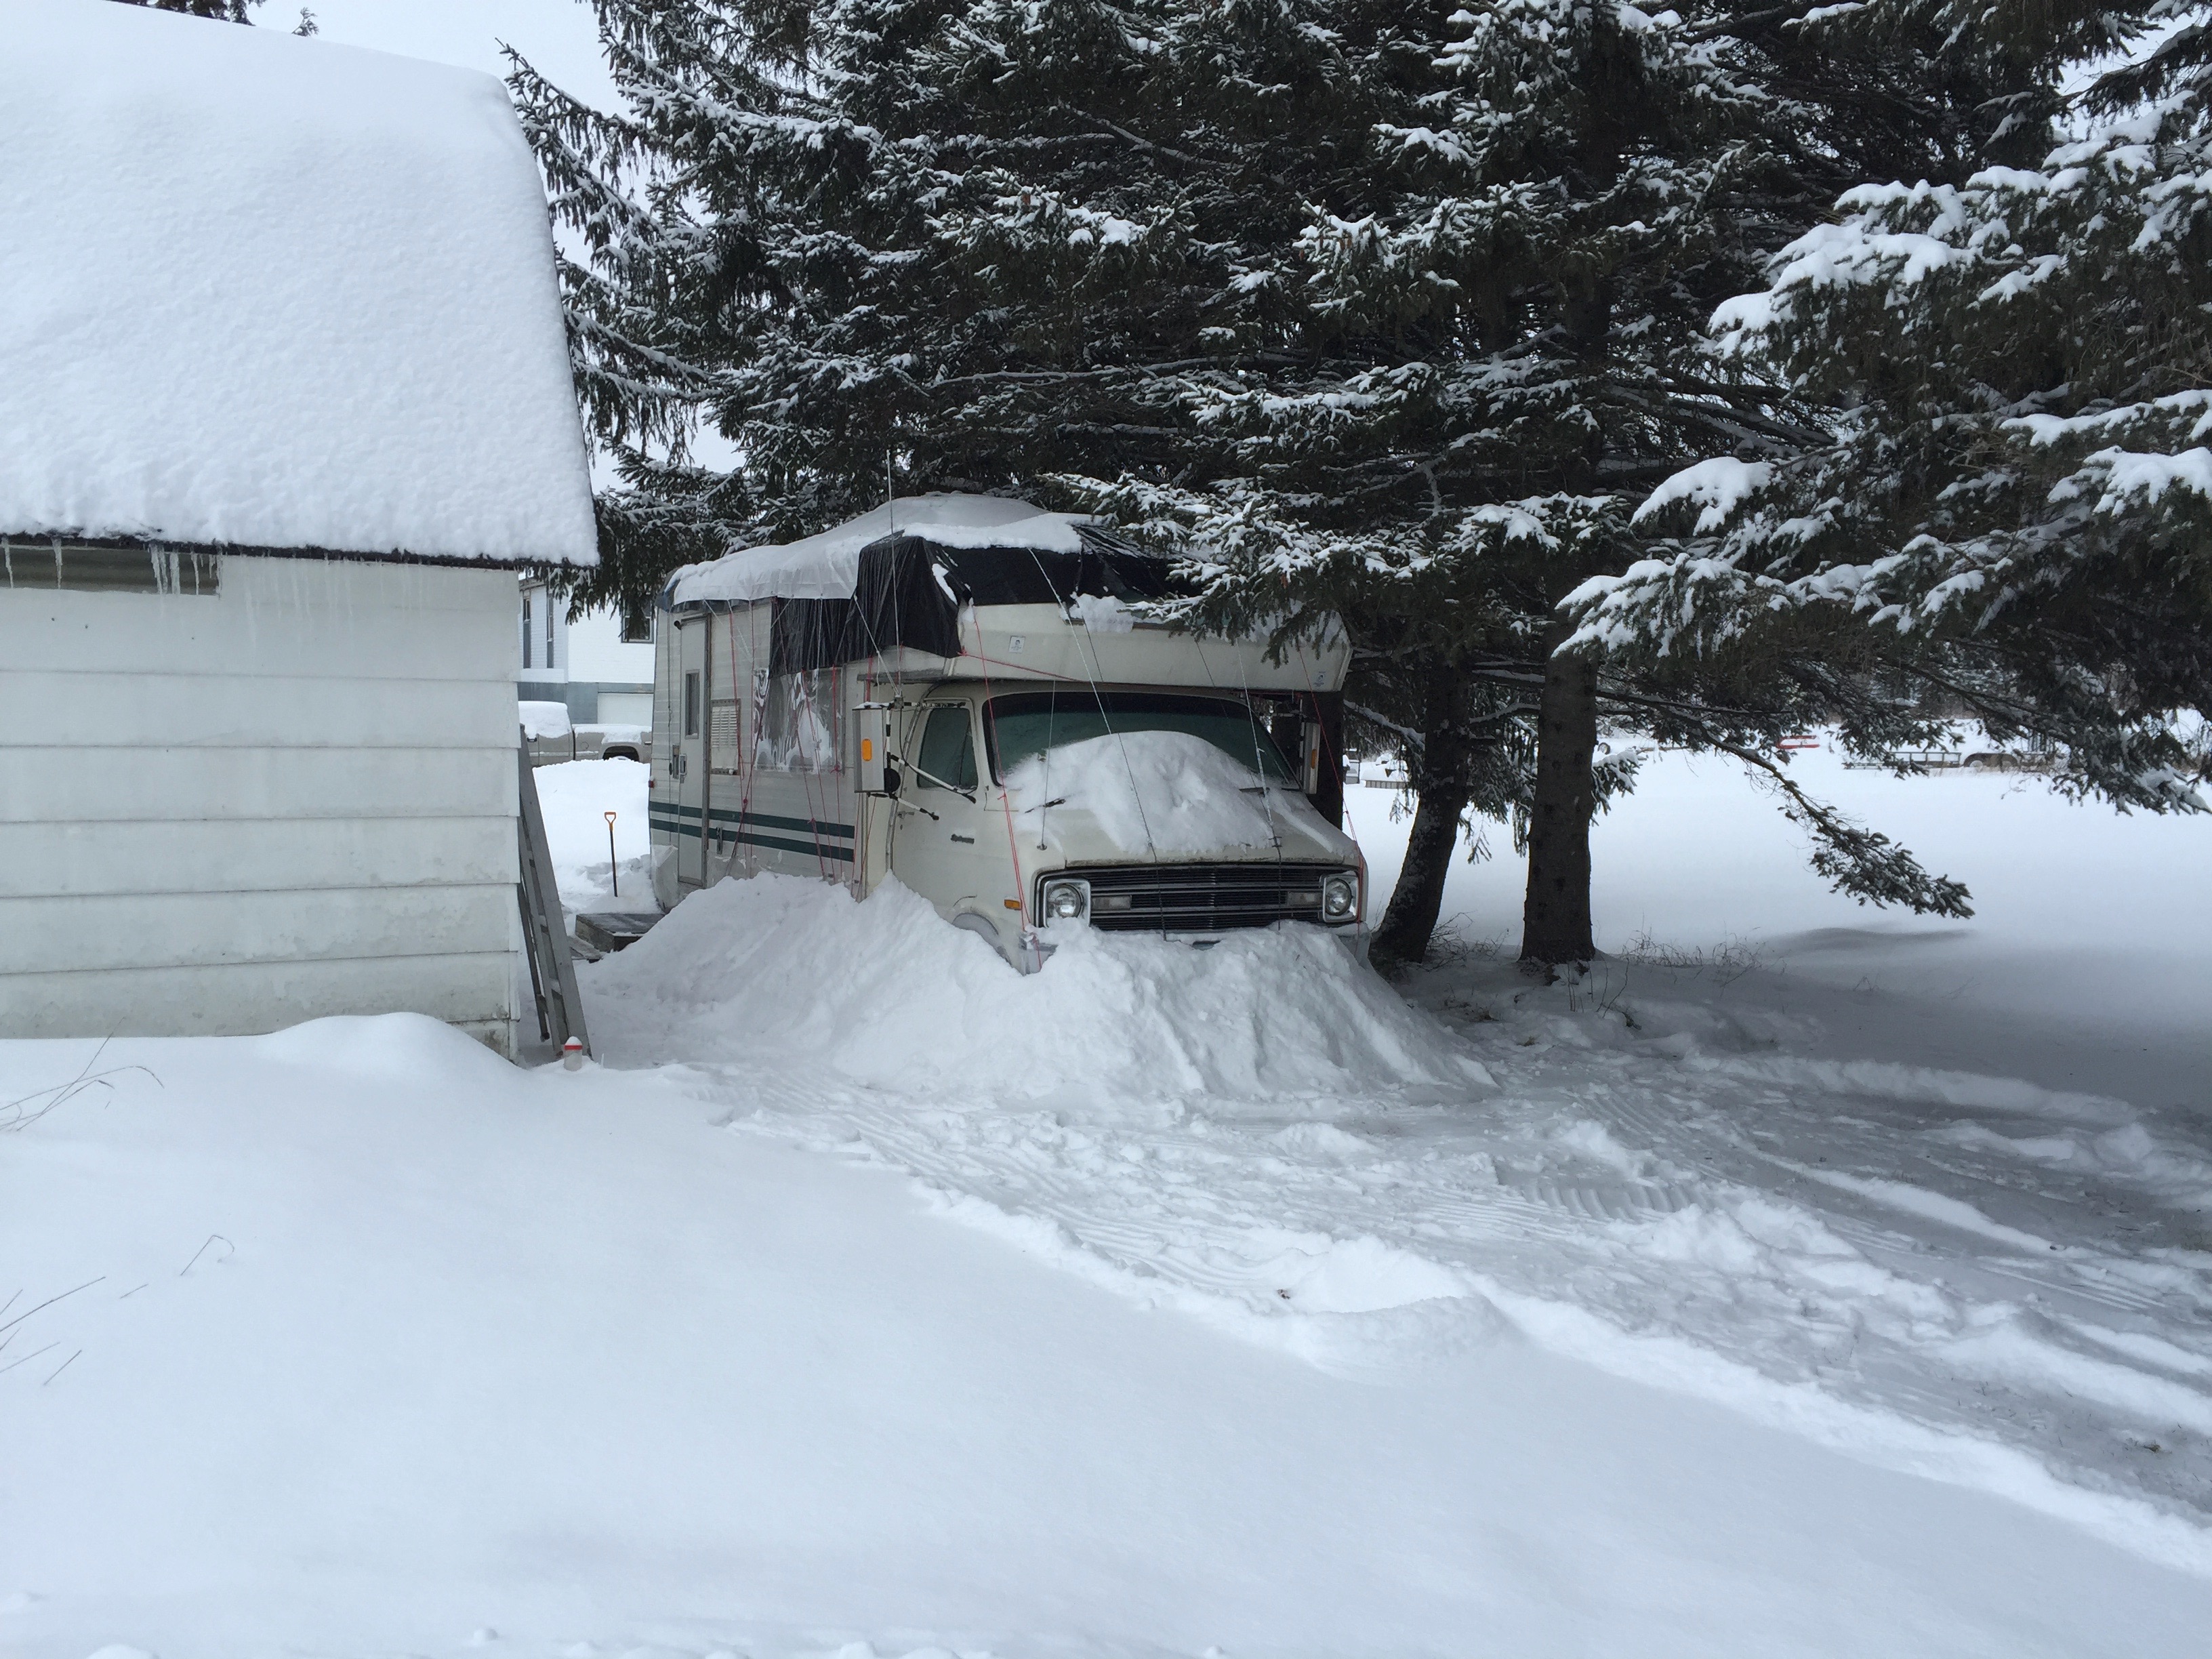
So the future? After I verify my solar abilities, I plan to move the camper off grid. I’ve got access to a many acre plot where two brooks connect. With solar for power, and a natural source of water, it’s time to cut my umbilical and fly. I think there will be much farming on this land in the years to come, and maybe even some bee hives. Of course, I never plan that much in advance, I let the universe guide me. I’m pretty terrified what a winter off grid will be like. I’ll have to snow shoe in/out. All of my processes will have to change. There are many potential hardships, and I may find it’s not possible (yet) with my current setup. But thats the path I’m walking down at the moment, and there is a jaunt in my step. More will be revealed…

Thermostat Update Version 3.2

I suppose it’s about time to let you know about the multitude of changes in my thermostat. If you’ve been following along, you might be surprised that I’ve jumped all the way from Version 2.0 to Version 3.2, but that’s just how drastic the updates have been. You can read about version 1 here, and the version 2 update here, if you want the backstory.

Is that a Photon in your pocket?

Yes (and I’m happy to see you). The Particle Photon is a programmable wifi microcontroller. The version 2 update included the Photon, but it only served as a link to the internet for basic control and minimal monitoring. The system still ran on the Arduino platform. Now, the Photon runs 100% of the system, and the Arduino has been phased out. This gives me full control, and full monitoring capabilities.

Don’t Blynk, you may miss it.

Blynk is an app that allows you to communicate with your microcontroller projects. It works with a number of popular platforms. You can read data from your hardware to keep tabs on it, or you can write data to the hardware to control it. It is very simple to set up, and has proven quite flawless. As you can see in the pic, I am monitoring temperature, humidity, and furnace runtime. This data is also being graphed. The graphed data can be output to a csv file as well.

I’m also using Thingspeak as a primary means to log data for analysis later. There is a graph at the end of this post. It it one of the live feeds from the system to Thingspeak. You can see the whole public feed here.

Alexa, I’m freezing my testicles off.

I have incorporated an Amazon Echo Dot into the equation, using the IFTTT service to link everything together. I can tell the Echo to turn the furnace on or off, and trigger it to certain temperatures. You can’t use IFFFT to send variables, so I can’t pick any random temperature, the control has to be pre-defined. I had to write a function for 65°F, and one for 70°F.

Look, Ma, no hands!

Between the Blynk app, and the Echo/IFTTT integration, the system runs without me ever actually interacting with it. I rarely ever use the buttons on the physical interface. The delay function I added in V2.0 was recently incorporated into the app. I also added indicators for the temperature setting and the standby status, which makes it more clear that the system has responded to my remote commands.

This is crazy, but here’s my number. Text me, maybe?

The IFTTT service is also set up for texting. I can text it an ON command, or a specific temperature. It will respond to confirm the action. The system will also text me if the temperature drops below 38°F, because that means that my propane tank has run empty (Yes, that has happened when I was gone overnight. Yes everything froze. Luckily, nothing was lost. My water system thawed out and worked fine). The IFTTT service limits you to 100 texts per month, so you have to be mindful of when you use that type of notification. My 38° notifications (being high priority) are quite incessant, and come in waves that will quickly trip that threshold.

A day in the life.

So here’s what a typical day might look like. Before bed, I will determine what time I plan to wake, and set my delay for one hour earlier. Then I tell the system to turn off and crawl into my sleeping bag. The temperature is allowed to drop to 40°F overnight. When I wake up, the system will have been on for an hour, and it will be close to 60°F. I tell it to turn off before iI leave for work. If I forget, the motion sensor will do it for me after an hour. Before I leave work for the day, I’ll will check in. The system will be in standby mode (40°F) since there has been no motion for over an hour. When I hit the ON button, I can clearly see the system come out of standby mode, set itself to 60°F, and turn on. I can also set a specific temperature, if required. When I get home, it’s nice and toasty. Lather, rinse, repeat.

Thanks for reading. As a parting gift, enjoy this live graph of the temperature in the camper. It updates every 2 hours. (I’m no longer using Thingspeak, so this graph is no longer a live feed).

Keeping Warm Part II

At the end of last winter, I wrote the first of a two part series on how I keep warm. As I enter the grips of winter once more, I thought it was time for part II. The first part was all about my thermostat.  If you’ve been following along, you know the thermostat has changed a lot since that post, and it continues to be refined. Today, I will talk about the hardware (furnace and other heaters) and “software” (clothing), and other techniques I employ.

CAMPER EXTERIOR
plastic
Plastic banking installed.
snow-bank
The Igloo Cometh.

The first line of defense is the camper exterior. Like any home, it’s a battle to keep the cold air out and the warm air in, but to also maintain some ventilation to keep humidity at bay. For me it begins with banking the camper with plastic sheeting. This keeps wind from rushing under the floor. When the snow comes I can bank snow against the plastic. Show is a phenomenal insulator. I line all exterior compartments with standard 3.5 inch loft pink roll insulation (pics below). The camper is covered with tarps. The snow can accumulate above without directly contacting the roof. Keeping the roof dry is preferable. If the snow collected on the exposed roof, and then melted on a warm day, the resulting water will find is way into small spaces. When the cold re-freezes the water, it expands. Suddenly those small spaces become cracks and water leaks.

CAMPER INTERIOR
carpet
Reflectix used for carpet pads.

On the inside, I fill vents with pink roll insulation, and then cap that off with 1 inch blue foam board. I also covered the large rear window with blue foam, as well as the windows around the bed. They would be an enormous loss of heat, and I get plenty of light from the two remaining windows. The remaining windows get the standard shrink plastic on the interior. The larger dining area window also gets a custom exterior storm window made from plexiglass against a rubber gasket. I have runner carpets on the floor year round, but for the winter, I place Reflectix insulation under them. This is sold under a number of brand names and styles, but it is basically bubble wrap between two sheets of heat reflective mylar (think space blanket). It adds a level of protection from the cold floor. Finally, a wool blanket hangs in front of the door to help mitigate drafts.

cab-wall-guitar
Behind this guitar is the drivers seat.
camp-pad
The blue closed cell foam provides a cold barrier for my self-inflating camping pad bed.

The cab of the camper is a standard van cab. It is not really insulated at all. Rather than try to insulate around such a compound shape, I walled the whole cab off with blue foam board. I do lose that space for interior storage, but I can still access it from outside. The wall does make the space a bit cozier. There’s something about having a steering wheel in your living quarters that doesn’t exactly scream “home”, so I was glad to have it out of sight. The downside here, it that the bed is over the cab. That means that the area under the bed gets VERY cold. I combat this with closed cell foam. The camping section of any decent department store will have closed cell foam camping mats for quite cheap. I have a partial layer of that foam under where my torso lays. I should layer the whole surface, but I’m doing this as cheap as possible. On top of that is a self inflating camping pad that serves as my mattress.

HARDWARE

The interior space of the camper is heated by a propane furnace controlled by my custom built thermostat. I try live as “green” as I can, but a camper is just not an efficient habitat to occupy in such a harsh climate. I do plan on building a very green and efficient small home some day, but until then I do my best with what I have. To make up for the lack of thermal efficiency, I keep the temperature low to save on propane. I’ve discussed this elsewhere, but I’ll recap it here. My base temperature is 40°F. This temperature was chosen a bit arbitrarily as a temperature that would protect against freezing. So it stays 40°F when I am away, if I forget to turn it down before I leave, the motion sensor will do it automatically after an hour without motion. I also set it to 40°F when I go to bed. I sleep quite well there, of course, I have an appropriate sleeping bag. Getting up in the morning in the cold was pretty tough last year, so this year I programmed a delay function into the thermostat. Now, the heat comes on before I wake up. When I’m home, I keep it to 60°F. I splurge on 65°F once in a while.

SOFTWARE
poncho
Laugh not, for thy poncho conceals fatal weaponry.

Some people find 60°F to be pretty chilly for an indoor temp. You may agree, and you’d be right. But since each of our bodies is a personal microclimate, it’s easy to rectify with clothing. I always wear a thermal base layer (we call ‘em “Long Johns”). I wear warm fleece sleeping pants, and either a sweater or a hoodie. I also wear a hat and gloves inside. I tend to favor light weight touchscreen gloves so I can interact with utensils, mobile devices, and my Apple Magic Mouse, which is touch based. My hat is one of the ugliest I’ve seen, but it’s made of thick fleece, which has unbeatable heat retention. A fleece throw blanket comes in handy often. One of my most effective garments is a DIY poncho (or serape depending on who you ask). I took a thick fleece blanket, and cut a head hole in the middle.  Draped over me, it keeps me warm while retaining the use of my hands. It is WAY more effective than draping a blanket over you. In addition to warming you front and back, the covering of the shoulders makes a great difference in holding body heat. I’m not going to win any fashion awards here. I bet I’d look more stylish in clogs and Hammer pants. In fact, in a mash up of two Clint Eastwood  characters, I’ve named this look “The Hobo Josey Wales”.  Hey it works. Function over fashion, always!

OTHER STUFF
ceramic
An effective toe warmer.

I’ve just begun experimenting with a small personal ceramic heater. I have avoided using electric heat as a primary source because I currently only have about 15 amps I can safely use, and a heater would take most of that. This small heater uses only 250 watts, and cost me $10. It has zero ability to affect the temperature in the camper as a whole, but is has a purpose in warming hands or feet that tend to get cold easy. I can take the temperature down to 50°F and this heater takes the edge off the cold, as long as I’m mostly stationary.

I also have a portable “Buddy” from Mr. Heater as a back up. It uses 1 pound propane canisters, and I can deploy it in a pinch if need be. It’s not suitable for long periods as it puts a lot of moisture in the air. It’s also old, and it doesn’t seem to want to run for long periods, anyway. It’s nice to know it’s there in an emergency, though.

There are a couple of challenges I face. One is convection. As the camper loses heat to outside it creates a movement of air that feels almost like a draft. This makes it feel colder than it actually is. I also have small humidity issues. Since I have buttoned up the camper as much as I can, I have affected the ventilation. With less ventilation, I lose less heat, but I retain moisture. It’s not a lot, but it’s enough. Cold spots can condense the moisture (sometimes into frost on the metal door and window frames). If I don’t pay attention, the moisture can create black mold. The answer would be a ventilation system that retained my heat (like an energy recovery ventilator), but those systems are beyond my scope and price at the present time. I do plan on incorporating such devices when I build my own place.

CONCLUSION

At the end of the day, the biggest step in overcoming the cold (or anything) is our mind. I believe comfort is largely an illusion (I’ll be writing a post about that). We can choose to adjust our comfort levels, and learn to be comfortable in situations that were previously not so. As long as the condition is not life threatening, comfort is largely subjective. Once we learn to take our perception of comfort down a notch, our perception of luxury falls with it, and we can really begin to appreciate the little things.

Additional Pics:

storm-window
Plexi against a rubber gasket. Decent storm window.
fridge-cab
Insulated fridge cabinet.
rear-storage
Insulated rear storage.
cab-wall-post
Completed cab wall.
bed-pink
Extra insulation around the bed walls.

The Water Whisperer

shurflo_box
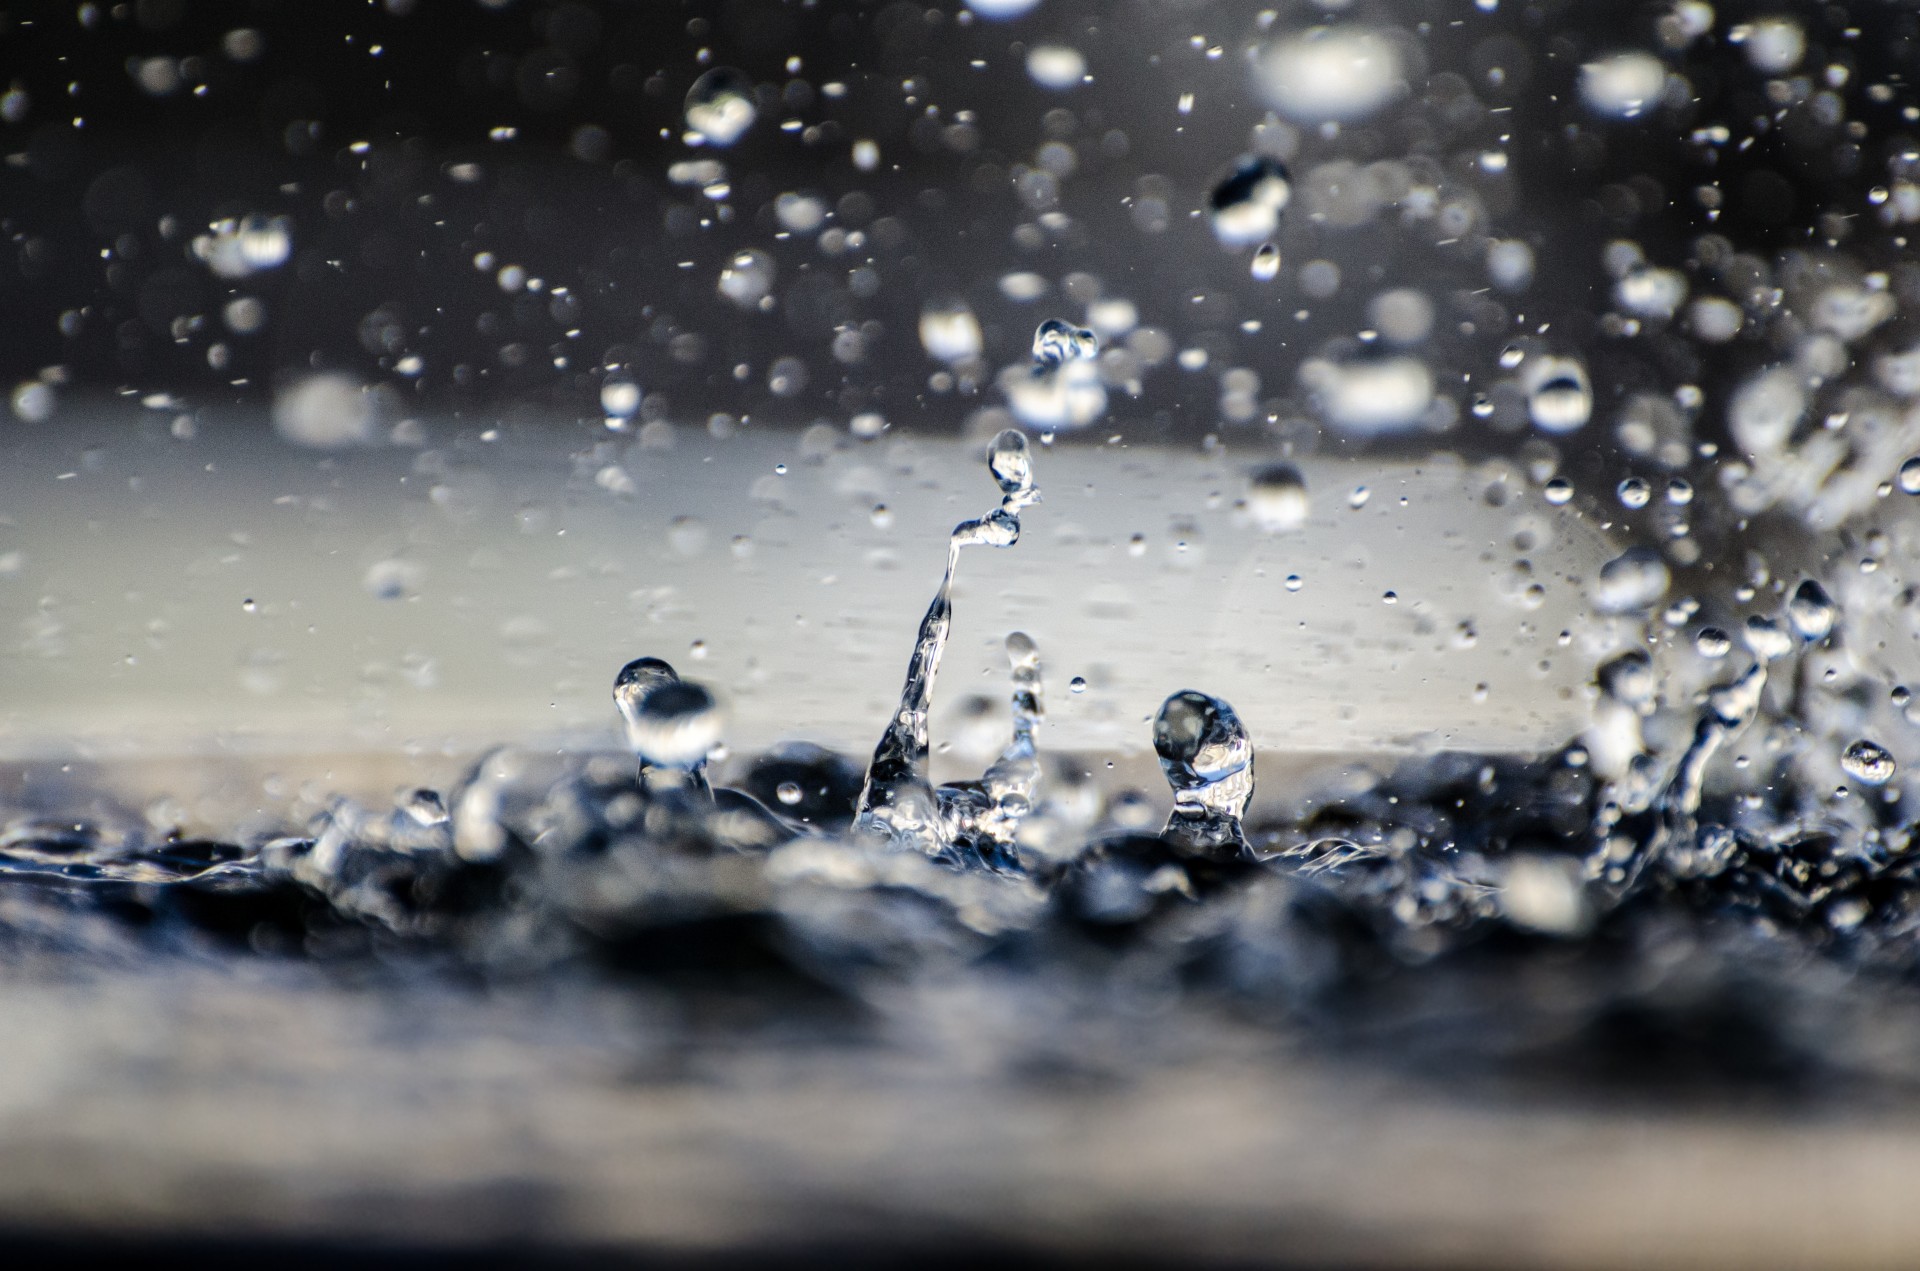
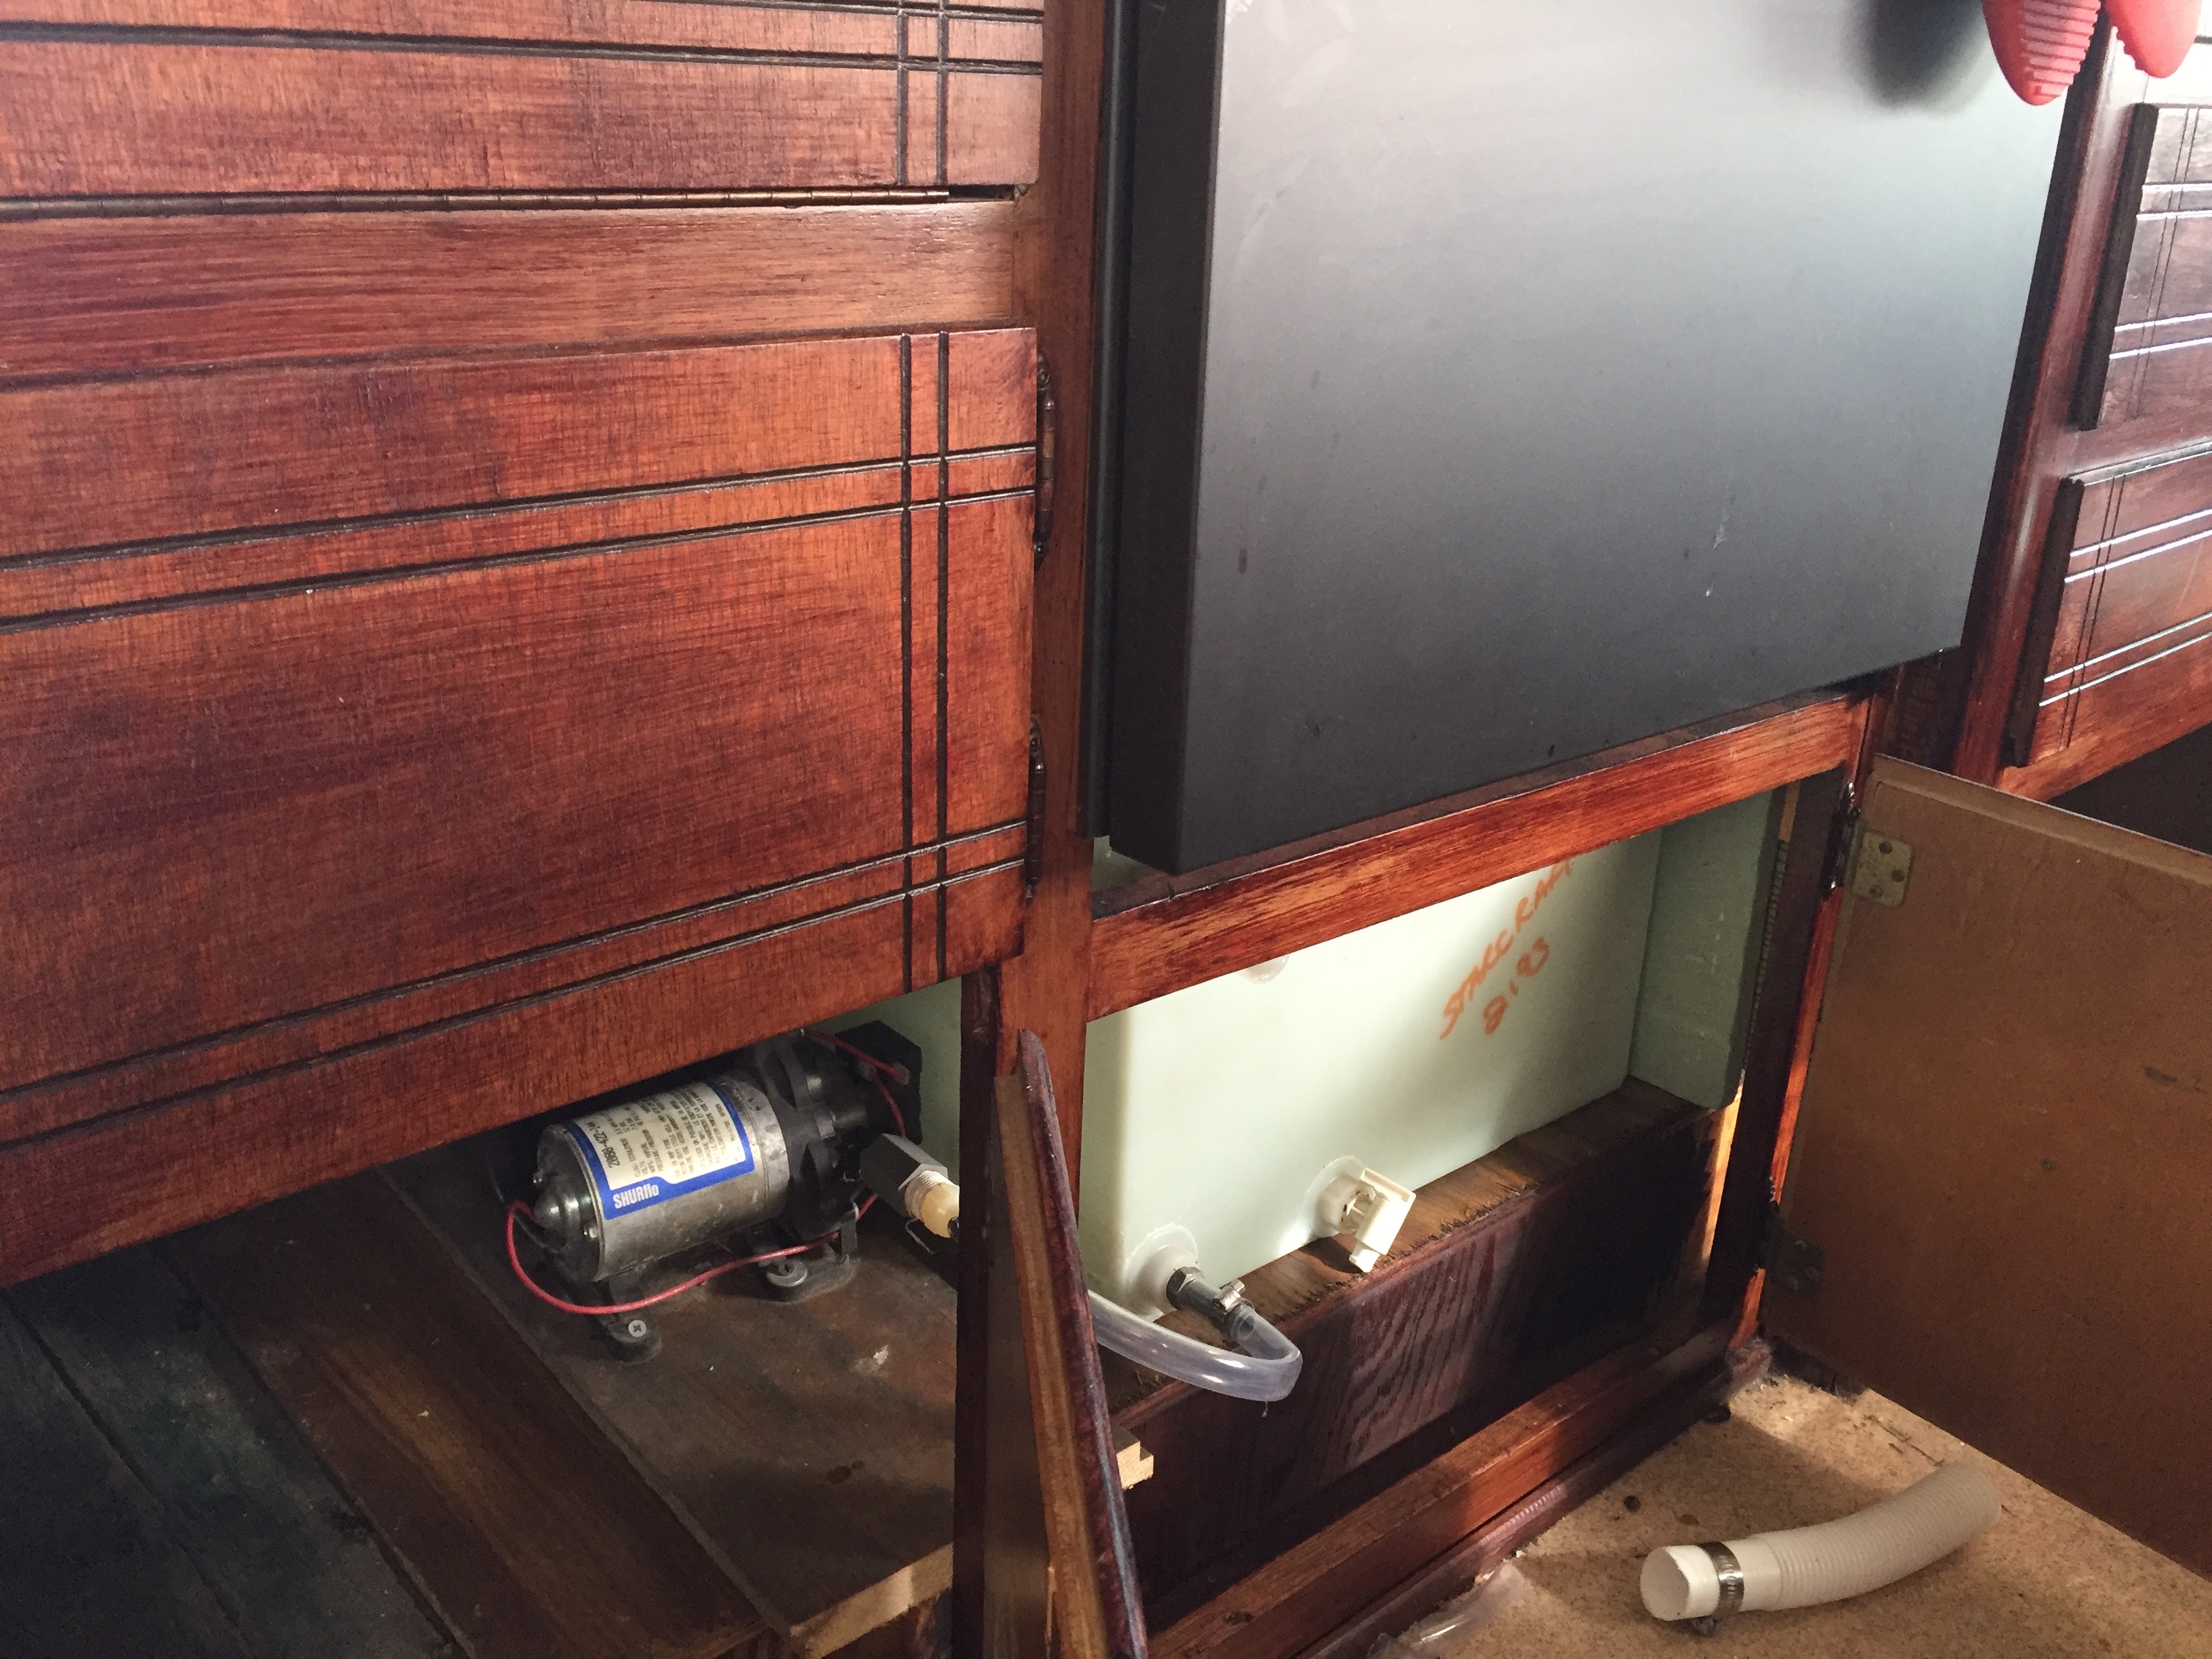
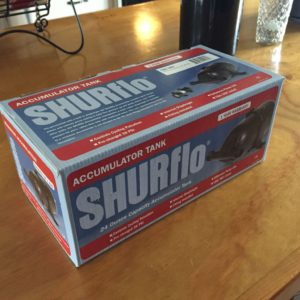
If you use a 12 Volt RV style pump for your water, you need to install one of these RIGHT NOW!

It’s called an Accumulator tank, and it is much like the bladder tank you’ll find in a typical residential water system that is fed from a well. It’s purpose it to maintain pressure in the system, and it provides a number of wonderful benefits.

I have described my water system before, in case you want to get up to speed. I use a demand water system. The pump has a pressure switch that turns on when the water pressure drops. So basically, when I turn on the faucet, the pressure drops causing the pump to turn on and supply water. When I turn the faucet off, the pressure quickly builds back up, and the pump turns off. Thats simple on paper, but in practice it has some drawbacks. Chiefly, you cannot turn the water on a little. The faucet has to be wide open, if at all. Otherwise, the pump suffers from pulsation. It’s reminiscent of “water hammer”, but its different. When the water flow is restricted by a semi-open faucet, the pump turns on and off rapidly as the pressure rises and falls over and over again. It’s annoying, and its bad for the pump. It also makes using a sprayer difficult. My sprayer caused pulsation until I modified the mesh outlet. With this tank, that would not have been necessary. Having to run the water wide open means a lot of water gets wasted while rinsing dishes or washing hands. Not to mention the mess of water around the sink that results from the impetuous flow.

Enter the accumulator. It is a accumulator
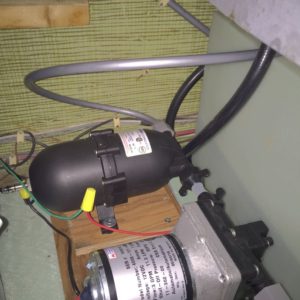
pressure vessel that contains a bladder that is filled with air to 30 PSI. When water is pumped in, it compresses that bladder, increasing the pressure to a point that tells the pump to turn off. When I open the faucet, the initial water pressure comes from the ACCUMULATOR, not the pump. This means that I can turn the faucet on as little or as much as I need to. As the water leaves the accumulator, the pressure eventually drops until the pump turns on to maintain the flow of water. When the faucet is turned off, the pump will continue to run, filling the accumulator until the bladder provides enough pressure to turn the pump off. It’s a lot like a capacitor, but it stores hydraulic energy as opposed to electrical. And, much like a capacitor will filter or “smooth” out a signal, this smooths out the water flow.  It took a moment to get used to, as the pump does not turn on right away with the faucet, and it runs for a few seconds after you turn it off.

It comes pre-charged to 30 PSI. It has a standard air valve, should you need more pressure for your particular pump, or if you need to replenish pressure lost over time. It came with a coupler, so installing it right next to the pump required no additional fittings or hardware. They are commonly available for $40-50. In my humble opinion, this is a must have item. I wish I had done this sooner.


Thermostat Update V2.0

img_1355UPDATE: Version 3.2 is live. Read about it HERE.

This is just an update on some thermostat happenings of late. I recommend reading the original post to get up to speed.

DELAY CIRCUIT

I have mentioned elsewhere that I maintain a temperature of 40°F overnight while I sleep. I find that to be a great temp for sleeping, and for saving on propane. It’s a bit rough for getting ready for work in the morning, though. I tried keeping it at 50°F overnight when I started getting a steadier income, but realized just how much propane it takes to get an extra 10 degrees. I decided to add a delay function to the system. I did not want to futz with the complexities of a programmable timer circuit, especially since the RTC chip is not known to be super accurate. I decided a simple delay was best. It’s just a button that increments a delay time. I set the delay for, say, 7 hours, and go to bed. When I wake up the furnace will have been running for about 30 minutes, and its good and toasty.


REMOTE (WEB) CONTROLimg_1320

I had always planned to introduce the thermostat to the Internet of Things, and finally made that happen this weekend. I’m still debating on my final approach, but for now, Ive gone with the Photon from Particle.  It proved to be a REALLY fast and SUPER EASY platform that saved me a TON of headaches and development. No hosting a local web server, no port forwarding, no dynamic DNS. Almost plug and play! I have a lot more work to do. The interface is virtually non-existent besides a simple on/off. I want to get some feedback from the system, like temperatures and runtimes. The problem is the difference in logic level. The Atmel chip uses 5V logic, the Photon uses 3.3V. Luckily, 3V is the threshold for the Atmel pins to go HIGH, so the Photon CAN trigger the Atmel chip. But I can’t safely send any info from the Atmel to the Photon without damaging it with 5v. I’ll be getting some 74 series level shifting DIP chips soon, but until then, I going build a simple voltage divider to tide me over.


My eventual plan is to have my Raspberry Pi operating as the brain of the camper, controlling all the sub systems though a web interface. I’ve gotten as far as running Apache and PHP on my Pi, but its the old (orignal) Model B, and I think I’m due for an upgrade. I’ll write again when the web interface is complete. Keep making stuff!


The Jedi Light Trick

img_1353

I have grand schemes on setting up a solar powered LED lighting system in the camper, but until the money and motivation magically align, i’m just making it up as I go. All of the light fixtures in my camper are old and cracked and falling apart. The central most light fixture died completely recently, and I made do without it until now. Years ago (January 2012) I built an infrared light switch (programmed with Arduino and housed in an Altoids tin) to control some halogens I no longer use. I stumbled across that old circuit today and decided to repurpose it. I wrote about the original build back then, if you care to read the details. It has the schematic (EagleCAD) and Arduino code attached if you want to build your own. My dad (who is obsessed with LED lighting) had just given me a neat 12V LED array to check out. He is always finding cool lights like this on eBay.

The circuit is powered with 12v because it uses a 12V relay, which was all I had on hand the day I built it. I’d like to redo it with a 5V relayimg_1346 since that is all the Atmel chip needs to operate. 12V poses a couple of problems. First, since the chip requires 5V, I have to step the voltage down (with a 7805 in this case) which is not very efficient. Second, the Atmel chip cannot switch the relay on its own. The voltage/current is just too much. So I had to use an NPN transistor to switch to relay on. The chip switches the transistor, which in turn energizes the relay. I wasn’t really in the mood to re-solder a different relay in, and then have to re-write any code, so I left it as is for now.

img_1354It’s all programmed with Arduino. Its quite simple code wise, with about 40 lines of actual code. It really just monitors the iR detector for light reflected from the emitter (from a hand for example), and toggles the relay on and off when it sees it. The lights ground is switched via the relay. It was tricky to get the sensitivity right, as I recall. I thought I was going to build a ton of things into Altoids tins, but as yet, this is the only one.

The switch is located near the entry door. When I come home in the dark, it just takes a Jedi style hand gesture and the centrally located light will illuminate. I may be up to some solar and lighting projects in the near future, so stay tuned. Enjoy the included video, and see the link above for the circuit details from the original build post.


Keeping Warm, Part One: My Thermostat

IMG_0833

UPDATES:

See Version 3.2 HERE

See Version 2.0 HERE


Now that the northern Maine temperatures have finally crept above 40°F on a regular basis, I decided it’s time to talk about how I managed to stay warm this past winter. I’d like to start things off with my thermostat. There is a lot to say here, so i will devote the whole post to it. Other cold beating techniques will be discussed in part II.

Why Build a Thermostat?

“You know, you can buy a digital thermostat at Lowes for $17?” I got some version of that response from almost everyone I spoke to about my idea of building my own. The thermostat that came with my camper was working just fine. I didn’t need to build one, I wanted to build one. I take great pleasure in making things that solve a problem, and my DIY thermostat had the potential to solve a number of problems.

The first problem it solved was saving me $17. Everyone was right, I could just by a thermostat. At the time, Lowes had a basic digital Honeywell thermostat for $17. At the same time, I was broke, and $17 buys an epic amount of ramen. My geek stash had all of the bits and pieces I would need already, so there was no expense incurred in this project. The cost of propane was a big concern for me. I decided I needed to maintain a minimum of 40°F. Warm enough to ensure my water didn’t freeze, but cold enough to conserve on propane. My analog thermostat only went as low as 50°F, and “OFF” was so close to 50°F that I could never be sure if it was on 50°F of off completely.

Some higher tech solutions were deployed for extra geek cred. I knew I would forget to turn the temperature down before I left for work sometimes, so I used an infrared motion sensor to tell whether I was home or not. I wanted to gather data regarding how long, and how often my furnace ran. It would give me a gauge on how many hours of run time I could get out of a tank of propane. I used a data logger to write data to an SD card for later science.

How it Works

I’m going to try my best to keep it as layman as possible for the electronically uninitiated, but I will include some gritty details later to appease the electron junkies in the pack. This whole system is run by a microcontroller. Think of it like the processor (CPU) in your computer or whatever device you’re using to read this right now. All of the code that makes up the software you use is just a series of instructions that is read and executed by the CPU. So, I write some code, load it onto the controller chip, and it runs the program over and over. In this circuit, there is a temperature and humidity sensor. The controller constantly asks the sensor what the temperature is. I set my desired temperature by using two buttons to bring it up or down. When the temperature reported by the sensor is lower than the temperature I set, the code turns the furnace on. It’s more complicated than that, but that’s the basic idea. The controller also uses the infrared sensor to check for motion. If it sees no motion for an hour, it goes into a 40°F standby mode. Any time the furnace turns on, that event is logged to the SD card, including the time. When the furnace turns off, that event and time is logged as well. The times are subtracted from one another to determine how many minutes the furnace ran. That time is added to a cumulative run time.

The Geek Stuff

Here is some jargon. Feel free to skip this paragraph. This was programmed using the Arduino environment, but in a standalone arrangement (the controller runs on its own, without the support of the programmer). I’m using an older Sensiron temp/humidity sensor, and Adafruit’s Datalogging Shield. All of the pertinent info is written out to a Parallax 2×16 LCD. The furnace turns on with a contact closure, which is achieved by energizing a 5V relay. There is a mix of both i2C and SPI serial communications. The Sensiron chip uses i2C, the data logger uses BOTH protocols (i2C for the onboard RTC chip, and SPI for the SD read/write operation). I’m happy to share my code with anyone interested, but I’m not sure how compatible it is with more modern temp sensors.

thermologThe Numbers

I lucked out, because we had a very mild winter. The lowest temperature I saw was -16°F  (our wind chills brought us down to -30°F once in a while, but not often). I only spent $300 on propane all winter, and I was expecting much more. Each 20lb propane tank gave me over 30 hours of burn time depending on how much I was cooking (the stove uses the same propane). The spreadsheet on the left is a screen grab of the CSV file as it is written to the SD card. By keeping the temp at 40°F while sleeping or when I was gone, I saved a buttload of money. It took an exceptional amount of additional propane just to try to maintain 50°F overnight. Sleeping at 40°F was quite pleasant. A good sleeping bag is the only prerequisite. Getting ready for work in the morning is NOT quite so pleasant at 40°F, but I wasn’t expecting this to be easy.

Conclusion

What I really love about this process is the troubleshooting aspect of problem solving, and what I learn as I navigate it. Reality never behaves the way our ideas do on paper, and the act of wrapping our brains around those surprises teaches us a lot about the world. Sometimes, something seemingly so simple is actually far more complex. Sometimes, very complex things have very simple answers. I assumed that my code could say “when the temperature hits 60°F, turn the furnace off.” But in reality, the temperature fluctuates a lot as the room seeks equilibrium. The furnace would turn on and off several times while this happened, and it was hard on the electrical system. I had to write code that held the furnace on through a “buffer” period to let the room stabilize, and that minor change took more thought to engineer than the whole system did.

When we finally hit a warm spell, my furnace died! The timing couldn’t have been any better. It would have been an outright calamity even a week before. I had just made $80 helping my Mom out, and the part I need to fix the furnace happens to cost $80. Oh, how kind the universe can be when I don’t get in the way. In part two, we’ll talk about clothing, and the dynamic nature of human comfort.

UPDATE: I’ve added some features! See Version 2.0 HERE

The Saga of My Water System

stock water

UPDATE: I have added an accumulator tank to my system. Read about it here.

For a full year prior to moving into the camper, I lived without running water. I lived on a third floor, and carried the water up 6 gallons at time. For much of that time, water was available on the second floor, so I only had one flight to climb. In a nutshell, I was used to not having water on tap. For that reason, I was not in a big hurry to jump on the water system. Despite being pretty handy, I avoid plumbing like the plague. It has never agreed with me. I stuck with my big blue jug/dispenser for a while, but it was clunky to operate and doing dishes was always a mess. As the camper became more “home like”, the desire for a more managed water system took hold. My water system has seen a couple of incarnations, which I will walk through here after a brief discussion of the existing system at the time of purchase.

My RV water system, like most others, has a couple of options available. There is a fresh water holding tank (mine is about 50 gallons) and a 12 Volt pump that feeds that water to the systems pipes. The pump works on a pressure switch. It will run until it feels enough pressure to turn off. When you open a faucet, the pressure drops causing the pump to switch on. When you turn the faucet off, pressure quickly rises, and the pump stops. It’s called a ‘demand’ water system. There is also a system that uses an air compressor to pressurize a sealed water tank to force water into the system. I have no experience there.

city feedThe “City Water” connection is just a standard hose fitting. This is where you can connect to the water supply at an RV park, or to the hose spigot of that kind friend/host whose letting you mooch off their water. The wonderful bit is that the pressure is externally supplied by that system, so you don’t need your pump. A couple of points to note; 1. A regulator is recommended as RV systems are generally designed for lower pressures than those typically found from a “city water” supply, and 2. Use a “drinking water hose” for the connection, as common garden hoses get frequent complaints of adding an unpleasant taste to the water (we won’t even bother discussing the plethora of chemicals responsible for said taste).

After fixing a section of split pipe, I was able to run my water system from my fresh water tank. The pump had a faulty pressure switch, so I had to turn it on and off manually until I could replace it. I also ended up replacing the faucet due to a leak. It was leaking from an odd spot, and rather then mess with replacing bits an pieces that would cost close to or more than a whole faucet, I decided to skip all of that misery and do it all. I learned two lessons. First, and very simple, I learned that RV faucets are standard size faucets. Thats pretty obvious to anyone familiar with faucets. I am not one of those people. I get stuck assuming that everything is smaller, but it’s not always the case. The second lesson was that my pump doesn’t like aerators or sprayers. I got a faucet with a sprayer on the side thinking that it would alleviate some of troubles of having such a tiny sink (filling a pot, rinsing a dish, etc…). The pump has a hard time with it. It gives too much back pressure, so the pump kicks on/off repeatedly when I use it. It works for a few quick things here and there. I also had to remove the aerator from the main faucet for the same reason – it created too much back pressure. I was able to remove just the aerator and screw the rest of the assembly back into place so the water still has a smooth stream. Without it, the water is expelled in a messy fashion.

on standMy primary concern with water was freezing. My freshwater tank is exposed to the brutal elements of Northern Maine. Freezing temperatures are possible about six months out of the year, and for three of those they are almost constant. I don’t have a water spigot nearby, and even if I did, it would have to be protected by electric heat tape. I’m trying keeping my power consumption low, so the amperage to run heat tape would not be an option.

My solution was to set up an internal water tank. The easiest way to do so would be to put a tank close to the existing pump so I could just move one water line and keep my whole system intact (except for detaching one external line). I put the tank near the front of the camper next to the pump. It blocked the entrance to the cab of the vehicle, but I was planning on walling that off for insulation, so it made sense. I had a small 11.5 gallon tank that was salvaged from another old camper that fit perfectly. I built a small stand to set it on because I was afraid of accidentally putting my foot through it. It also gave me the ability to drain it if needed, and I planned on topping it with a cutting board to make it a food prep surface. This was all well and good, but after a few cold days I had second thoughts. Temperature readings along the walls where the water lines run were quite low. I was keeping the thermostat at 40F degrees whenever I was sleeping or when I left. 40 seemed like a safe temp to keep water lines from freezing (and my wallet from draining on propane) but my readings suggested otherwise.

Since my bathroom faucet/shower was not going to be in use (since I have no hot water heater), I decided that there was no need in keeping my WHOLE system intact. I only needed water in the kitchen. When I replaced the stove, I was a little bummed that the new one was a tad shorter, which left a gap underneath. You couldn’t really see it, and it turns out to be perfect. That extra space allowed me to fit my water tank underneath it, and the gap helps let warm air into the cabinet. Funny how things work out. There was enough room to mount the pump there, and some simple rewiring to power it. It’s actually easier to refill there as well. I carry in 3 gallons at at time, procured at my parents house with a bucket that has a spout attached. I run a line from the bucket into the tank and open the spout to transfer the water to the tank. I’ll post a video of that process soon.under stove

I should also mention the drain situation. The greywater and blackwater tanks (that hold the waste water from the sink and toilet respectively) have been removed. I have heard of people leaving them on and using anti-freeze, or leaving the greywater valve open to drain onto the ground. My blackwater tank was cracked (presumably from the previous owners letting it freeze), and the greywater tank got cracked during removal (which was actual good as I found out it had been contaminated by the blackwater). I drain my sink into a 5 gallon bucket underneath. Every so often I dump it outside. By sticking with biodegradable soaps, I can safely dump this around trees and such. Greywater reuse is a common element of many good composting programs. Since I’m a geek, I’m thinking of making a float circuit that will warn me when the bucket needs to be dumped, rather than wait for the inevitable day when I find out the hard way. I learn almost everything the hard way.

I always keep water in the kettle, so come on over. Tea time is all the time.


Meet My Camper – Part II

If you haven’t already, you may want to read part one of this series.

My water system was quite a challenge. I have been through a couple of incarnations already. I have a 50 gallon external freshwater tank that is entirely exposed to the freezing temps. A solid block of ice is very difficult to feed through a pump. I installed a smaller tank inside, and replaced the pump. I still had concerns of the water line freezing, so I reconfigured the system again. I will document the details in post dedicated to the water system.

The wood in this thing was in rough shape. Being an older camper, the wood is actually wood, not some cheap laminate. Refinishing is certainly an option, but being a purely cosmetic endeavor, I had it low on the priority list as a ‘next year’ project. I often spew the ‘function over fashion’ credo, but badly wanted to do something to make the wood ‘prettier’. I guess its my feminine side, which I am quite in touch with :). The truth is, there is a psychological element at play. When something looks better, it feels better. I discovered Minwax Polyshades. It’s a stain and polyurethane in one, so one coat does two jobs pretty quickly. I spent a day coating most of the wood, and the results were frankly astonishing. It really does make the place seem much less of a dump.

Insulation is an ongoing affair. I have the bulk of it done. Many windows are simply sealed shut with foam panels. It gets dark super early, so blocking out light was not a big deal. I used to live in a darkroom, so I am part vampire anyway. I left 2 windows open to light. They are both shrink wrapped, and I built a storm window on the larger main window. The cab of the vehicle is walled off with foamboard. I plan on banking all around with plastic and straw bales. More on that later.

I detected a new leak one day after we moved the camper to its winter resting spot. It sits differently, and water found a hole it hadn’t gotten to before. I patched the roof, but to be safe I tarped it as well. I’ve heard arguments for and against this practice, but I’m taking the chance.

I replaced all of the lights with LED’s to lower my power consumption. The ones I got are cheap. I had to exchange the first set due to many lights failing, and my second set is not looking so hot either. The LED’s I have are cool white, which is nice for doing work, but the warm white balance of the incandescent light is cozier. Right now I have a mix, so I get the best of both worlds. The old lights might draw more current, but they also give off quite a bit of heat. That heat is helpful right now.

I had a minor electrical issue. One of my two breakers (a GFCI which runs everything except 1 outlet) was tripping all of a sudden. It was an intermittent issue, so it was hard to solve. I blamed a shoddy outdoor outlet, but removing it changed nothing. I ruled out everything else on the circuit, I switched out the breaker, and it has not reoccurred.

Being that the camper is a Class C (i.e. drive-able), I am frequently asked how many miles are on it. That’s a bit of a mystery. The odometer claims 10,300 miles. That’s next to impossible for a 1977 that’s obviously seen use. The registration says 103,000 miles. It seems to me that the odometer was misread, and the tenths digit was mistaken for the ones digit. My guess is that the odometer has rolled over, and it’s 110,300 miles. Unless it’s rolled over more than once, but evidence seems to suggest otherwise.

The final topic on my list is the bathroom. I have saved it for last, because it is a topic many find uncomfortable. We poop. Get over it. In our society we pull a lever and it’s gone. In this lifestyle, you have to interact with it a bit more. Since my blackwater (i.e. sewer) tank was cracked, the toilet was useless. It would have been anyway, since the tanks contents would freeze (which is likely how it cracked in the first place). Even with ample anti-freeze, I had no solution for emptying the tank. I removed the tank and toilet, and put in a porta potty. There is much to be discussed about this matter, and it’s future, in posts to come.

There are many details left out here. Look for more detailed posts and pics regarding every aspect of this journey coming soon.

Meet My Camper – Part I

I live in a 1977 Dodge Sportsman. It is a class C motor home, powered by a 318 V8 engine. I purchased it on May 29th, 2015. It had been sitting around for a few years, and it was quite a mess. It ran, barely. A good portion of it was in decent shape, and I was told that everything worked. The price was low, but I was on a pretty limited income. I really didn’t have any money to put into repairs, so I was leery of what I was getting myself into. My dad thought it was too good to pass up. He has quite a collection of materials and tools I would have access too, so I took the risk. Below is an overview of my work to date. I will post more details in separate posts, with pics.

At first, each day of hope and excitement was followed by two days of frustration and despair. I began by cleaning things up and testing all of the systems. In the process, I was upset to find out that almost nothing worked. The fridge didn’t work. The water pump kind of worked, but some of the lines were split open. The toilet was unusable due to a cracked black water tank. The stove mostly worked, but was bordering on dangerous. The water heater was rusted out. The dining table was missing. The A/C didn’t work, but I wasn’t planning on using that anyway. In the end, the only appliance that worked was the furnace, and the electrical seemed to be OK. I was told there was a water leak near the bed over the cab, but it was much worse than expected. There were many leaks, and 95% of the wood around the bed was rotten and waterlogged. My list of things to do grew and grew to overwhelming proportions. It was a chore just to decide where to start. I almost gave up a few times and, if I’m honest, I almost hoped to return and find it burned to the frame.

I had to take a breath, and ponder my priorities. Having previously pondered a van dwellers lifestyle, I had already wrapped my brain around what my truly basic necessities were for such a living space. Revisiting this, I knew I needed a place to sit at a table to read, write, eat, and plan. I knew I needed a place to sleep. I began to demolish the bed area, which proved to be quite a task. When I got frustrated with it, I worked on a table or tinkered with other things. Soon enough, I had a table that attached to the wall, so I could remove it to fold the seats into a bed as they were designed to do. I planned on keeping the table up permanently, but I wanted the bed option for guests. Eventually I had the rotten wood removed, the roof and seams repaired and re-framed, and the bottom surface of the bed area rebuilt. I still had to insulate, and cover the walls around the bed, but I was able to start sleeping there.

That was on July 1st, 2015. I have lived here ever since. I didn’t really plan on moving in then. I just started sleeping here because it was easier to keep working on it that way. I had set up a wifi extender so I could get a signal from my parents house. As you can see, the “geek” in “campergeek” is decidedly NOT arbitrary. Wifi goes a long way as far as comfort in my world. After a few weeks, I realized that I had only gone home to pick up some belongings, and then return to the camper. For the previous year, I had been living with my sister and her fiancee, on the 3rd floor of a large house he owned. I was reluctant to stop paying rent and “officially” move into the camper, because I had no idea if I was going to be ready for the winter. I even questioned how possible it would even be to brave a Northern Maine winter in this thing. It’s November as I write this, so I’m honestly still wondering what I’m really getting into. I’m quite comfortable thus far, but stretches of 20 below zero and colder are typically inevitable.

My work kind of stalled out for a while. I just lived here, overwhelmed with the tasks that lay ahead. I was parked next to my dads shop to facilitate the work since it gave easy access to tools and materials. It also provided my electrical power and a restroom. I eventually mustered some motivation and got back to work. I guess I would even say I got a bit obsessed. I replaced my stove with one my dad had picked up a while back to mess around with. I lucked out there. I pulled the broken LP/electric fridge out and replaced it with an all electric Frigidaire compact unit that I had gotten for Christmas the year prior. I hope to have an LP unit back in there eventually when I can afford it. It took some trim cutting to get it to fit, and its been a challenge to get it to run properly for reasons I will discuss in a different post.

I have the bed area re-insulated, and paneled. It needs finish work before it looks pretty, but cosmetics are generally a low priority right now. Function over fashion, always.

Join me in Part II for the riveting conclusion of my summary on the work to date.